Last updated November 17, 2026




Free written scope consultation - allowances, timeline, and change-order rules on paper before a single trade is scheduled
Bathroom Remodeling Troubleshooting: Common Problems and How to Fix Them
Shower leaks after a bathroom remodel almost never come from grout failure. They come from a missing or improperly lapped waterproofing membrane at the curb transition, a detail that’s already buried under tile by the time the water shows up on the ceiling below. The same pattern repeats across nearly every bathroom we’ve opened up in Kendale Lakes: the problems that cost the most aren’t random, and they aren’t mysterious. They cluster at five predictable points, and they announce themselves before the drywall goes back up. This guide walks through each failure point, the diagnostics that tell you which one you’re dealing with, and what to do when a remodel reveals something ugly mid-project.
Quick Answer
Most bathroom remodeling problems trace to five failure points: the shower curb and pan membrane, the tile substrate, the drain flange, the ventilation system, and the supply lines behind the walls. Diagnose a post-remodel leak by isolating the source before demo (plug the drain, run the shower head, watch the ceiling below). Fix cracked tile by checking for substrate flex first, not by replacing the tile. Correct ventilation failures with a properly sized, ducted exhaust fan, not a bigger ceiling grille. And when a remodel reveals hidden damage, stop work and get a written change order with photos before anyone touches it.
Styles & brands we work with
- Kitchen remodeling
- Bathroom remodeling
- Home additions & ADU
- Roofing
- Windows & doors
- Driveway & pavers
- Fence
Table of Contents
- The Five Failure Points in Every Bathroom Remodel
- How to Diagnose a Post-Remodel Leak Without Demo
- Why Tile and Grout Crack (and It’s Rarely the Tile’s Fault)
- Ventilation Failures That Grow Mold Within 6 to 18 Months
- When the Remodel Reveals Something Ugly Mid-Project
- Kendale Lakes Specifics: Humidity, Cast Iron, and Slab Drain Lines
- The Pre-Close Inspection Sequence
- Common Mistakes to Avoid
The Five Failure Points in Every Bathroom Remodel
If you only inspect five things during a bathroom remodel in Kendale Lakes, inspect these. In our experience, roughly 80% of callbacks trace back to one of them, and every one is inspectable before it’s closed up.
- The shower curb transition. The pan membrane must lap up and over the curb, and it must be continuous behind the backer board. A common shortcut is to nail the cement board through the liner at the curb. Water gets in, sits on the framing, and rots the curb within two years. Inspect before the tile goes on and before the pan is flood-tested.
- The drain flange and weep holes. A clamping drain needs the weep holes clear and the mud bed sloped to the drain at roughly a quarter inch per foot. If the slope is flat or the weep holes are clogged with thinset, water pools under the tile and finds the path of least resistance, which is often your neighbor’s ceiling in a condo.
- The tile substrate. Cement board over studs with no vapor barrier, or drywall behind tile in a wet area, is a failure waiting on a humid summer. In Kendale Lakes, that summer is 365 days a year.
- The exhaust fan and its duct. A fan that terminates in the attic instead of through the roof or sidewall dumps that moisture right back into the house. We see this constantly in older homes here.
- The supply lines behind the wall. Braided stainless lines have a working life. If you’re remodeling a bathroom and the shutoff valves are 20 years old, replace them while the wall is open. The cost is trivial compared to a hidden leak.
Inspection at these five points costs almost nothing. Catching them after the fact is where the $12,000 bathrooms come from.
How to Diagnose a Post-Remodel Leak Without Demo
Water on the ceiling below a bathroom is a diagnostic problem, not a demolition job, at least not yet. There are four common sources: a cracked grout line, a failed pan membrane, a leaking drain flange, or a supply line. Each one has a test.
- Plug the drain and fill the pan. Use a test plug and fill the shower floor with an inch of water. Mark the water line. Wait two hours. If the level drops, the pan or curb is leaking. Stop here, that’s your source.
- Run the shower head at full force for ten minutes. If the ceiling below stays dry during the pan test but gets wet now, the leak is in the wall behind the shower valve or the supply line to the shower head.
- Run the sink and tub separately. If the ceiling leaks only when the sink runs, the problem is the sink drain or supply, not the shower.
- Inspect the grout without testing water. Missing grout on a shower floor is a symptom, not a cause. If the pan membrane is correct, a cracked grout line will not leak through. If it does, the membrane is already compromised.
The mistake homeowners make is dumping a tube of caulk into a cracked joint and calling it fixed. That’s fine for a hairline crack in a dry area. In a wet shower pan, it hides the problem while the real damage grows under the tile. This is the kind of detail we stress in every bathroom remodel we quote in Kendale Lakes, because fixing it right the first time is cheaper than fixing it twice.
One more diagnostic: if the water shows up only on the ceiling below and nowhere else, and the pan test passed clean, check the toilet. Toilet flange leaks and failed wax rings are among the most common causes of ceiling staining after a remodel, and they rarely get blamed for it.
Why Tile and Grout Crack (and It’s Rarely the Tile’s Fault)
Tile is not fragile. A porcelain tile rated for floors can handle foot traffic for decades. When tile cracks, it’s usually the thing under it that failed. There are three common causes, and each has a signature.
- Substrate flex. If the floor feels bouncy or gives slightly underfoot, the joists are undersized or the span is too long. Tile will crack along the flex line. Fix the floor structure before re-tiling; otherwise the new tile cracks too.
- Shallow mortar bed or spot-bonding. If you tap the tile and hear a hollow sound, there’s a void behind it. Hollow sounds lead to cracked corners. The fix is to pull and reset, not to grout over it.
- Missing expansion joints at the perimeter. Tile expands and contracts with temperature. With no perimeter gap, the tile pushes against the wall and cracks. This is especially common in Kendale Lakes bathrooms because exterior walls heat up a lot in the summer.
The good diagnostic: map the cracks. Cracks that follow a straight line, or radiate from a single point, point to a localized problem. Cracks that wander or step around corners point to structural movement or missing movement joints. That distinction tells you whether to fix a tile or open the floor.
Grout cracking along the joint between wall and floor is almost always a change of plane, and it should have been caulked, not grouted. That’s a ten-dollar fix once the joint has been raked out. Grout cracking in the middle of a field of tile is a different problem and probably means the substrate moved.
Ventilation Failures That Grow Mold Within 6 to 18 Months
In our climate in Kendale Lakes, a bathroom without a working exhaust fan is a mold incubator. The math is simple: a 15-minute hot shower puts about a half pint of water into the air. If the fan or the duct isn’t moving it out of the house, it lands on the coolest surfaces, which are the walls, the ceiling, and the back of the vanity.
The most common failures we see:
- The fan runs but the duct terminates in the attic or the soffit, so moisture stays in the envelope.
- The duct is crushed or badly kinked, cutting effective airflow by half or more.
- The fan is undersized. The general rule is about 1 CFM per square foot of bathroom floor area, and larger bathrooms and long duct runs need more.
- The fan is on a light switch, so it runs only when the light is on. A fan should run 20 minutes after a shower, minimum.
Fixing this after the fact is doable without demo in most cases. Re-route the duct to a proper roof or wall cap, replace a crushed flex duct with rigid or semi-rigid, and put the fan on a timer. If the ceiling already shows mold, that’s a remediation issue before a ventilation issue. In south Florida, a properly sized fan with a timer and a clean exterior cap makes the difference between a bathroom that stays dry and one that needs the drywall ripped out at year three.
If the mold has spread beyond a small patch or appears to have been growing for more than a year, get a mold assessment before you retile. Covering it up doesn’t fix it, and it doesn’t pass a serious inspection when you go to sell. If you’re planning a larger suite renovation and want the ventilation solved once, our Groundwork Construction Co. of Kendale Lakes home page lays out the full scope we handle.
When the Remodel Reveals Something Ugly Mid-Project
Every bathroom remodel can turn into a discovery project, and Kendale Lakes homes are no exception. Cast iron drain lines that have rusted through. A footer that’s out of level. Mold behind a vanity that wasn’t visible from the outside. These aren’t reasons to panic; they’re reasons to stop, document, and price the fix in writing before anyone keeps working.
What to do when the wall comes open:
- Stop work immediately. Not a pause. A stop, with the area photo-documented before anything is touched.
- Get a written change order. The original bid didn’t include this, and a reputable contractor will tell you that up front. The change order should list the finding, the fix, the cost, and the added time.
- Check who owns the discovery. In most agreements, hidden conditions are treated as a change to the scope, not a bill for the contractor to eat. If the contractor misdiagnosed during the bid, that’s a different conversation.
- Get a second opinion if the number feels off. A cast iron line replacement in a slab is a legitimately expensive job. Ask for the line to be scoped and priced separately from the rest of the work.
- Decide whether to replace or repair. A 40-year-old cast iron drain with rust-through should be replaced. A minor cracked fitting can be repaired. Every decision is a cost-benefit calculation, and any contractor who won’t walk you through it isn’t giving you upfront pricing.
Your rights depend on the contract. In Florida, signed change orders before the work is done are the protection on both sides. If a contractor won’t put it in writing, the conversation is over. Our bathroom remodeling work in Kendale Lakes only proceeds on written, signed change orders, and the same rule applies on every Home Additions & ADU in Kendale Lakes project we quote.
Kendale Lakes Specifics: Humidity, Cast Iron, and Slab Drain Lines
Bathroom remodels in Kendale Lakes run into problems that don’t show up the same way in colder markets. The three biggest:
- Humidity without a cold season. The bathroom never gets a dry-out window. A vapor barrier installed incorrectly or a shower pan without a proper pre-slope fails faster here than almost anywhere in the country. We test pans and flood the curb for 24 hours before tile in every Kendale Lakes bathroom we finish.
- Cast iron drain lines under the slab. Many of the homes built here in the 1970s and 1980s still have original cast iron, and it’s now 40 to 50 years old. When we open a floor for a shower pan, we scope the drain line with a camera to confirm it’s not about to fail. Doing this before the tile is a $200 cost. After, it’s a $5,000 to $12,000 job.
- Out-of-level concrete floors. Slabs settle unevenly in this soil. Tile set over a lumpy slab will crack. The fix is a self-leveling underlayment, and it needs to be in the bid, not discovered mid-job. Our technicians have up to 12 years of experience with Florida slab work and plan for this on every estimate.
The practical takeaway for homeowners in the Kendall and Westchester areas: ask for a camera scope of the drain line before you sign the bathroom bid, and ask whether self-leveling is included. If both answers are yes, you’ve avoided two of the most expensive surprises in a Kendale Lakes bathroom remodel. If you’re also replacing an aging fence line in the yard, our Fence Installation in Kendale Lakes page is a separate scope we can look at during the same visit.
The Pre-Close Inspection Sequence
If a contractor is closing up your bathroom walls in the next few days, this is the inspection sequence you want to run before the drywall goes up. Print it, hand it to the project manager, make it clear you want it done in this order.
- Rough-in plumbing. Confirm all supply lines and drain lines are pressure-tested before the wall goes back. Check that shutoff valves are new, not original to the house.
- Electrical and exhaust. Confirm the exhaust fan is ducted all the way outside, the duct is rigid or semi-rigid, and the fan is on a timer or humidistat.
- Vapor barrier and waterproofing. Confirm the waterproofing membrane is a continuous sheet with no fasteners through it in the wet zone. If it’s a liquid-applied product, confirm it has the specified coats and cure time.
- Pan flood test. Plug the drain, fill the pan, mark the water line, wait 24 hours. Any drop means the pan fails. This is the single most important test in the whole project.
- Substrate and level. Check that the backer board is properly fastened and seams taped, and that the floor is level to within about an eighth of an inch over the tile area.
- Final photo record. Take photos of every wall before it’s closed. If a leak shows up in 18 months, you’ll know exactly where the pipes are.
Any contractor who balks at running this sequence is telling you something. The Driveway & Pavers in Kendale Lakes team applies the same inspection discipline to exterior hardscape, and the approach carries through every bathroom we build.
Common Mistakes to Avoid
- Skipping the pre-slope under the pan. The pan liner needs a sloped bed under it to direct water to the drain. Without one, water sits on a flat liner and finds the framing. It’s a cheap fix before the tile, and a full re-do after.
- Nailing through the shower liner at the curb. This is the single most common cause of a leak we see in Kendale Lakes bathrooms. The liner must wrap over the curb without penetrations; use blocking and adhesive, not screws.
- Venting the exhaust fan into the attic. In this climate, that dumps a half pint of water per shower into the attic every day. It shows up as mold on the roof deck within a year or two. Route it outside, every time.
- Using drywall behind tile in wet areas. Cement board or a foam board made for wet areas, not drywall. Drywall in a shower is a mold farm waiting for a humid July.
- Grouting a change of plane. Wall-to-floor and wall-to-wall joints should be caulked, not grouted. Grout cracks in these joints by design, not by accident.
- Buying a bargain exhaust fan. A $40 fan with a 3-inch duct will not move enough air for a Kendale Lakes bathroom. Spend the money on a properly sized fan from a brand like Delta or Panasonic, and it will pay back in mold avoidance.
- Not scoping a cast iron drain before closing the floor. A $200 camera inspection before tile is the cheapest insurance in the whole project. Skipping it is how a $200 problem becomes a $12,000 one.
When to Call a Professional
Some of this guide is diagnostic work you can do yourself with a test plug, a flashlight, and an hour on a Saturday. Some of it is genuinely dangerous or technically out of reach. Call a professional when: the pan flood test fails and you can’t find the source, there’s active water damage to the ceiling or subfloor, mold has spread beyond a small visible patch, a cast iron drain line is confirmed or suspected, or the floor and framing are out of level. Shower pans and waterproofing are not weekend DIY projects; a failed pan means tearing out tile, and tile work is unforgiving of mistakes.
Groundwork Construction Co. of Kendale Lakes offers free estimates in Kendale Lakes, with no-hassle upfront pricing, the 730-Day Done Right Promise, and 0% financing for 18 months plus $1,000 off projects over $10,000. Call (844) 834-8961 and a live person answers 24/7, not a voicemail that waits until Monday morning. Every technician is background-checked and uniformed, and you get a written line-item quote before anything is scheduled.
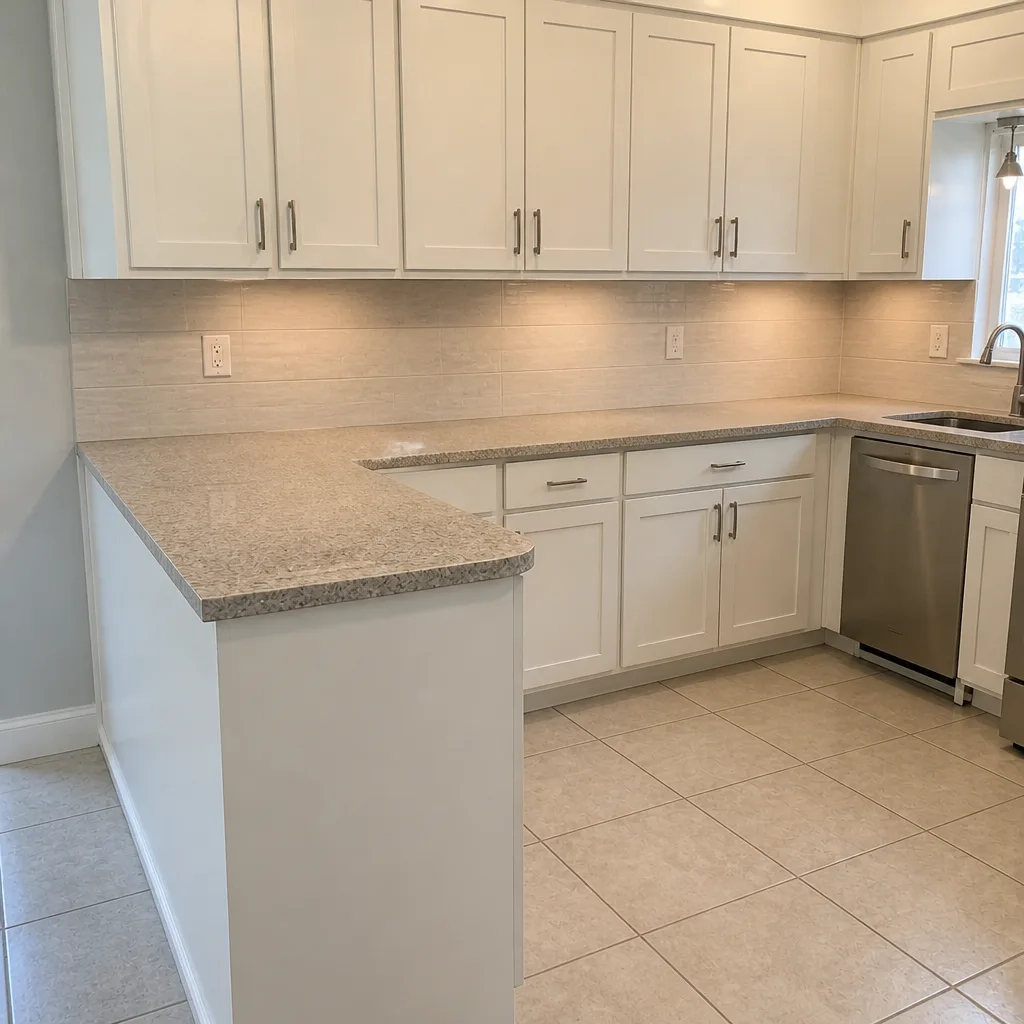
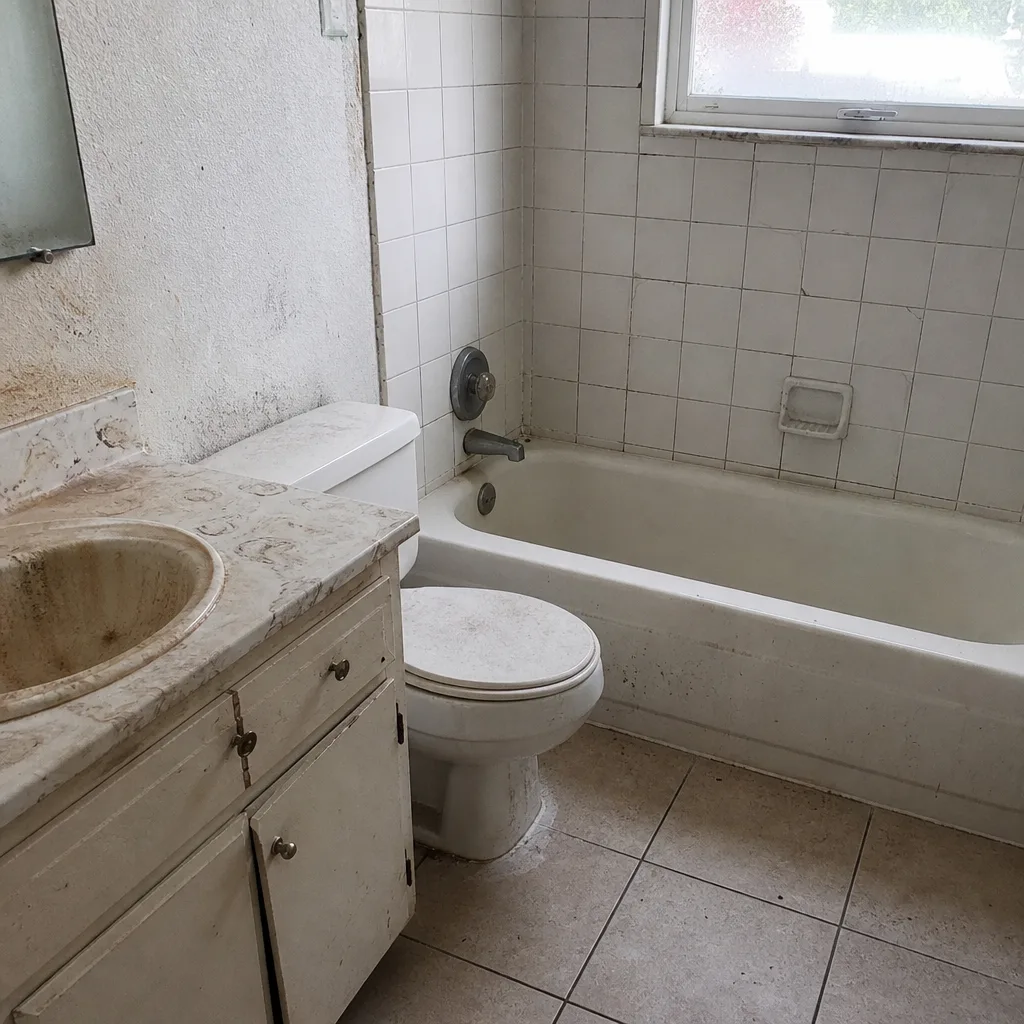
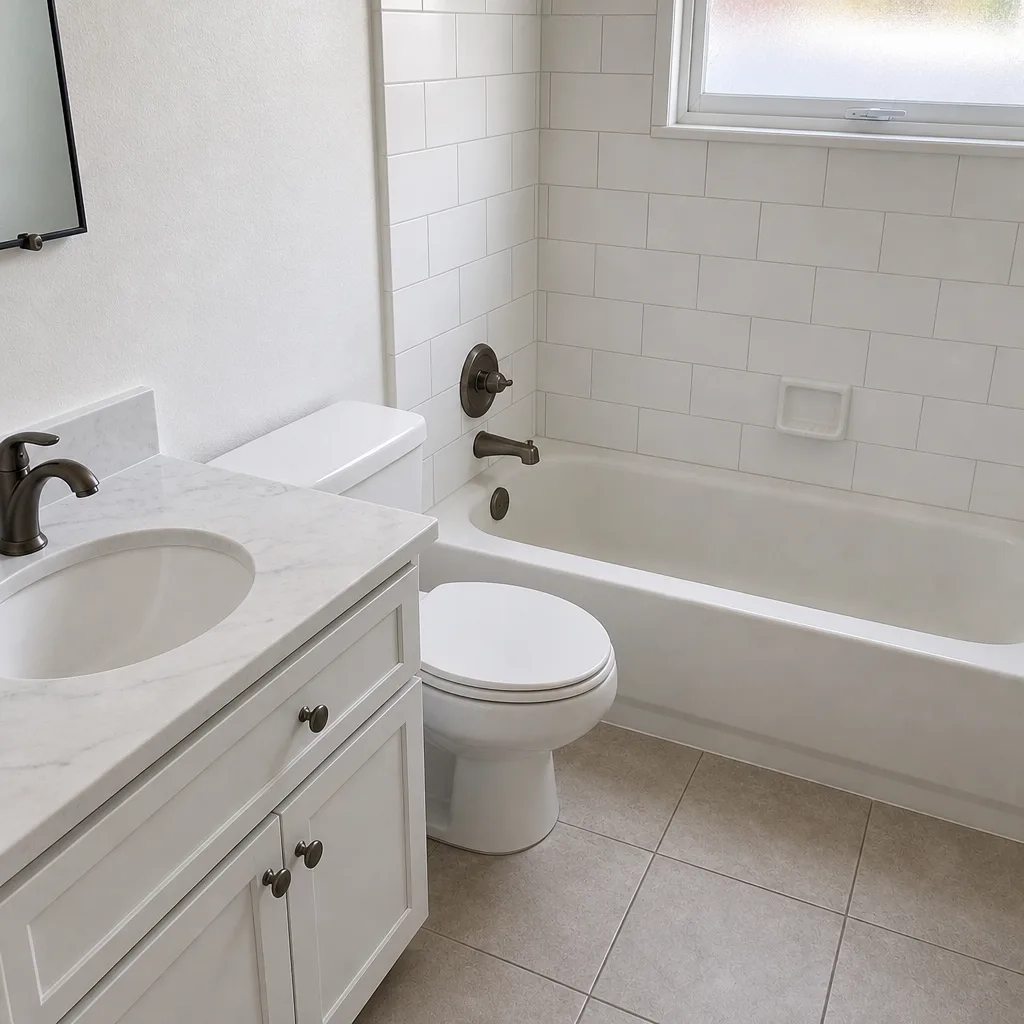
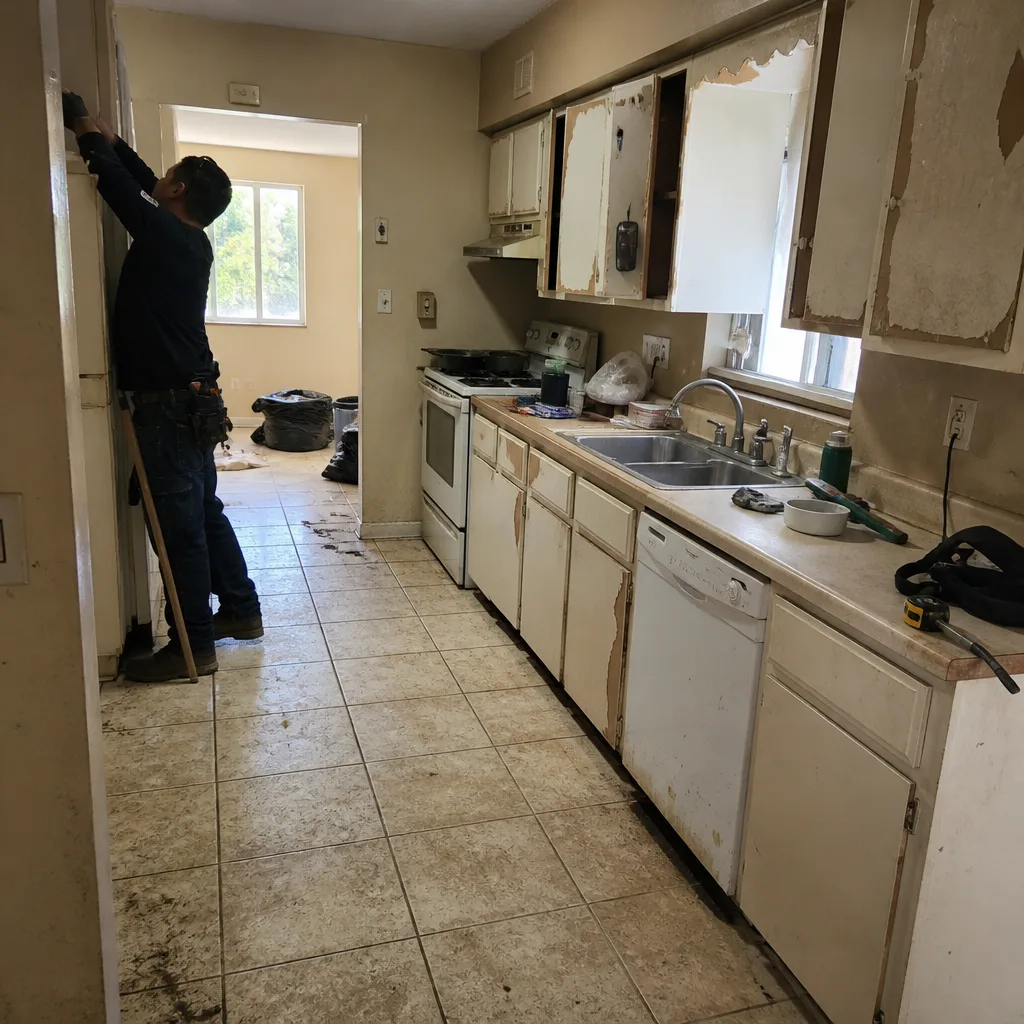
See the difference
 Before
 After
 Before
 After
 Before
 After
Frequently Asked Questions
Diagnostic visits in Kendale Lakes typically run $150 to $350, depending on whether a camera scope or flood test is included. A shower pan re-do runs $3,000 to $8,000 when the tile has to come up, a cast iron drain replacement in the slab runs $5,000 to $12,000, and a ventilation fix runs $400 to $1,200. Estimates are free through Groundwork Construction Co. of Kendale Lakes, with upfront pricing and no change orders without a signed sign-off. Call (844) 834-8961 for an exact quote.
The four most likely sources are the shower pan or curb membrane, the drain flange and weep holes, a supply line connection, or the toilet flange. You can narrow it down with a pan flood test followed by a shower head test, and if the ceiling only leaks with the shower, the source is in the shower assembly. Call (844) 834-8961 and we’ll walk you through the test sequence before you tear anything out; estimates for the repair are free.
Sometimes, but only if the substrate is sound. Tap the surrounding tile and listen for hollow sounds. If they’re hollow, replacing one tile will just crack the next one. If the surrounding tile sounds solid and the crack is localized, a single-tile replacement is a legitimate fix. Call (844) 834-8961 for a free estimate if you’re not sure; a technician can check substrate flex in minutes.
A full bathroom remodel in Kendale Lakes typically runs 4 to 8 weeks from demo to final walkthrough, depending on whether the drain line is scoped and whether hidden conditions come up. Small changes (vanity, faucet, tile) run 2 to 3 weeks. Surprise conditions add time, and the added time should always be priced into a signed change order before the work continues. Call (844) 834-8961 for a timeline estimate specific to your bathroom.
A shower pan flood test is a 24-hour water test that verifies the waterproofing membrane is intact before tile is installed. You need one on every new or repaired shower. The test costs almost nothing and catches the most expensive failure in bathroom remodeling. Call (844) 834-8961 if you want to know whether your contractor is running one; if the answer is no, that’s a red flag worth acting on.
Yes, most bathroom remodels in Kendale Lakes require permits for plumbing, electrical, and structural changes, and typically for any work that opens walls. Permit requirements vary by jurisdiction, so the permit set and inspection schedule should be part of the original bid. Groundwork Construction Co. of Kendale Lakes pulls the permits as part of the scope, and the written quote shows the permit line separately. Call (844) 834-8961 for a free estimate and a permit walkthrough.
The Bottom Line
Bathroom remodeling problems in Kendale Lakes aren’t mysterious once you know where to look. The five failure points (curb and pan membrane, drain flange, tile substrate, ventilation, supply lines) account for the vast majority of the expensive callbacks, and all of them are inspectable before the walls close. Diagnose leaks with a pan test, not demolition. Treat cracked tile as a substrate symptom, not a tile problem. Fix ventilation properly, with the duct going outside, and mold never gets a foothold. When a remodel reveals hidden damage, a written change order is your protection, and a camera scope before the floor closes is the cheapest insurance you’ll ever buy. Built to last, backed in writing with the 730-Day Done Right Promise on every project we finish.
Written by the team at Groundwork Construction Co. of Kendale Lakes.