Last updated November 17, 2026

Free written scope consultation - allowances, timeline, and change-order rules on paper before a single trade is scheduled
Driveway & Pavers Maintenance Checklist for Kendale Lakes Homeowners
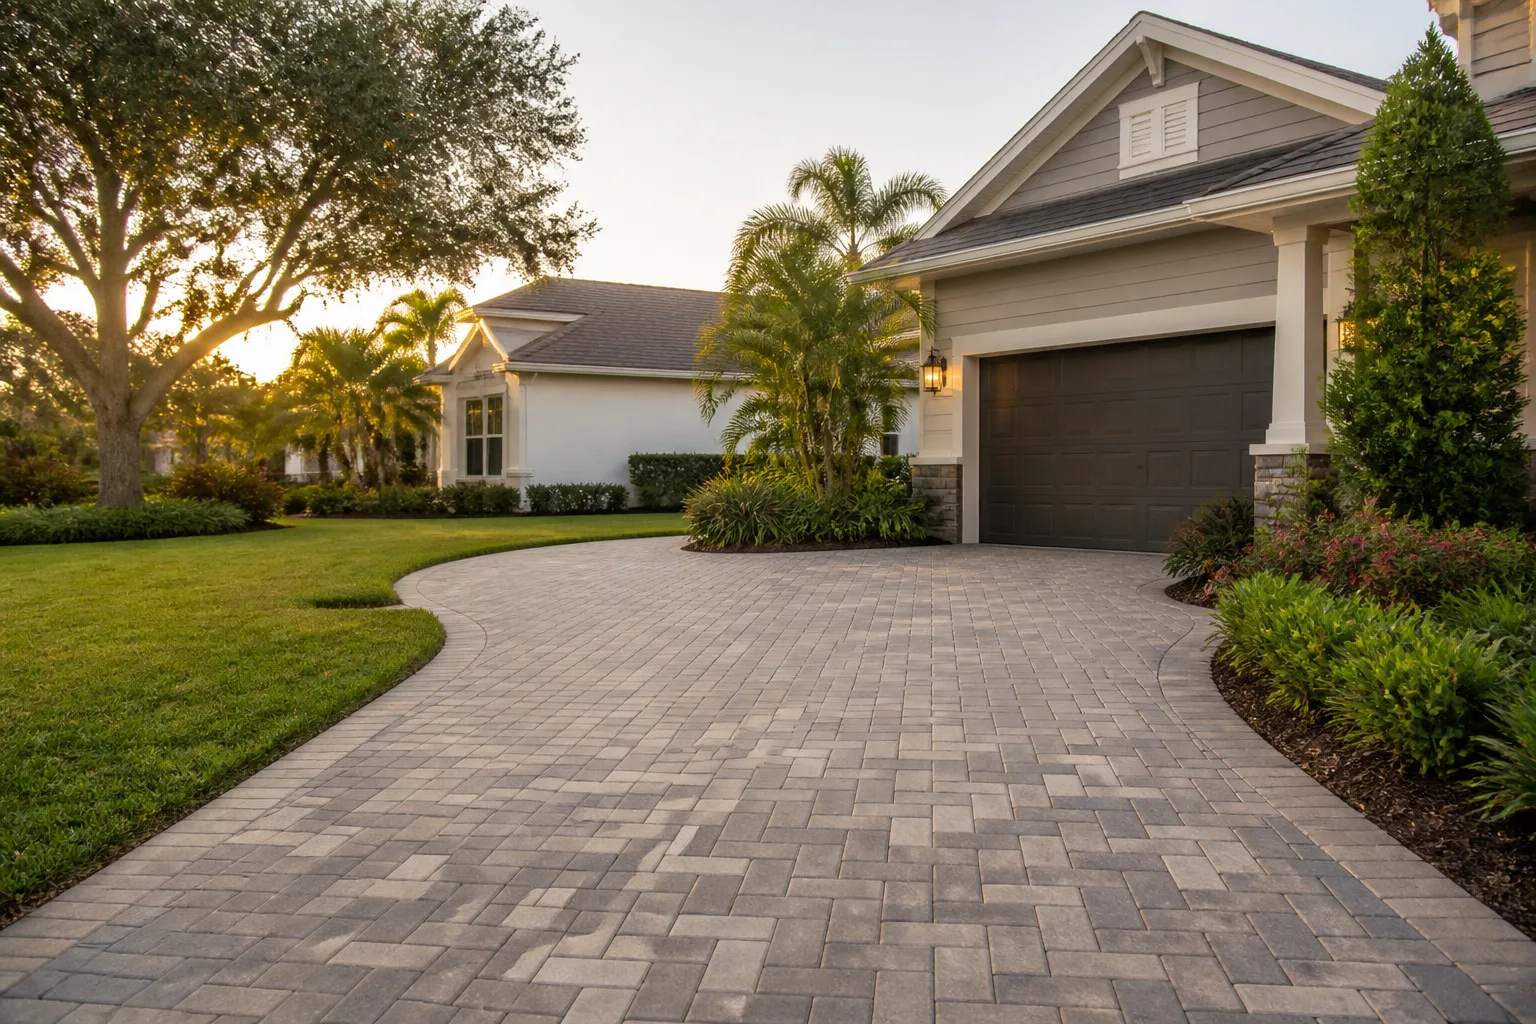
A paver driveway that would last 25 years in Atlanta might start shifting and staining within 5 in Kendale Lakes. The difference isn’t the paver – it’s what’s happening underneath it, and how fast our wet-dry cycles, tropical root systems, and limestone-heavy soil push a bad install to its breaking point. Most maintenance guides you’ll find online were written for a climate that isn’t yours. This checklist is built for what driveways in Kendale Lakes actually face from one May to the next, and it covers the seasonal schedule, the early warning signs, and the sealers that survive South Florida sun. By the end you’ll know exactly what to check, when to check it, and when to stop polishing and call someone.
Quick Answer
In Kendale Lakes, a paver driveway needs three things to stay solid: joint sand topped up twice a year, a full re-sand and cleaning after the May – October rainy season, and a breathable, UV-stable sealer reapplied every 24 – 36 months. The routine is different from national guides because our wet season, limestone soil, and tropical landscaping roots attack the base and joints in ways that northern climates don’t. Skip the fall re-sand and you’ll typically see washout, settling, and efflorescence within two to three rainy seasons.
Styles & brands we work with
- Kitchen remodeling
- Bathroom remodeling
- Home additions & ADU
- Roofing
- Windows & doors
- Driveway & pavers
- Fence
Table of Contents
- Why Kendale Lakes Driveways Age Faster Than the Pavers
- The Rainy Season Washout Problem
- Seasonal Cleaning Calendar: Wet Season vs. Dry Season
- Early Warning Signs: Efflorescence and Root Intrusion
- Re-Sanding and When DIY Polymeric Sand Backfires
- Which Sealers Actually Hold Up in South Florida
- The Step-by-Step Kendale Lakes Maintenance Checklist
- When Repair Beats Maintenance
Why Kendale Lakes Driveways Age Faster Than the Pavers
The paver itself is rarely the failure point. The paver is a dense concrete or clay block that shrugs off sun and rain for decades. What fails is the system underneath and between the pavers: the bedding sand, the joint sand, and the base layer. In Kendale Lakes, all three are under attack from conditions that don’t exist in most of the country.
Our lots tend to sit low and flat, which is a drainage reality of the western Miami-Dade neighborhoods built out through the 1970s and 80s. Water doesn’t sheet away quickly. It pools, it soaks, and it sits against the base for hours after a summer storm. The limestone-heavy soil common around Kendale Lakes is another factor – it drains differently than clay or sand, and it interacts with water moving through the base in ways that can either help or hurt depending on how the install was done.
Then there’s root pressure. A mature ficus, royal palm, or schefflera within 10 to 15 feet of a driveway sends roots laterally along the path of least resistance, and a wet joint channel is exactly that. We’ve seen driveways in the Kendale Lakes area where a single tropical hardwood root lifted a 4-paver-wide section two inches over a few years, and the homeowner didn’t notice until a car scraped the height difference.
Put it together – slow drainage, reactive limestone soil, aggressive roots, and 60-plus inches of rain concentrated into six months – and you get a driveway that takes perhaps three times the abuse of an identical install in a dry climate. The materials aren’t the problem. The maintenance routine has to match the climate. That’s the whole thesis of this guide, and it’s why a generic quarterly template will leave you behind.
The Rainy Season Washout Problem
South Florida’s wet season runs roughly May through October. That’s six months where afternoon storms drop an inch of rain in 40 minutes, then the sun comes out and bakes the surface. Joint sand takes the first hit. Each storm moves a little sand out of the joints and off the driveway, or washes it into the gaps near the street. Run that cycle 40 or 50 times a season and it adds up to noticeable joint depth loss.
Here’s what makes Kendale Lakes-specific: the flat, low-elevation grading on many lots means water doesn’t leave the property fast. It sits on the pavers, finds the low spot, and works its way into the joint voids. Once a joint is void, three things happen quickly:
- Pavers lose interlock. Joint sand is what locks the pavers together and spreads the load of tires. Without it, individual pavers start to rock underfoot and under wheels.
- Base saturation accelerates. Water reaches the bedding sand and base layer, which erodes and compacts unevenly. That’s the beginning of settling.
- Weeds and organic debris seed in. Open joints catch soil, seed, and lawn clippings, and in our climate the growth starts within weeks.
The fix is not complicated, but it’s not optional either. Topping up joint sand at the end of the dry season (April) and again after the heaviest stretch of rain (September) keeps the system locked. If your driveway has a known low spot where water stands for more than a few hours after a storm, that’s not a maintenance issue, that’s a drainage issue, and no amount of re-sanding will fix it without addressing the grade or adding a channel drain. A professional evaluation every so often keeps that from becoming a full reset.
The rainy season is also your check-in window. Every two weeks from June through October, take five minutes and look at the joints along the wheel paths, at the apron by the street, and at the edges where the driveway meets the lawn. If you can push a screwdriver into the joint sand a half-inch, you’re due for a top-up.
Seasonal Cleaning Calendar: Wet Season vs. Dry Season
Generic paver guides tell you to clean quarterly and seal every few years. That’s fine for a mild climate. In Kendale Lakes, the work has to follow the wet-dry cycle, not the calendar quarters. Here’s the schedule we’ve seen actually hold up on Kendale Lakes driveways.
May – October (Wet Season)
- Monthly rinse. A garden hose or light pressure rinse every few weeks knocks off pollen, mulch dust, and the fine grit that builds up between storms.
- Biweekly joint inspection. Look for exposed gaps along wheel paths and the apron. Top up early before washout gets deeper.
- Spot-treat organic growth. Algae, mildew, and small weeds move fast in heat and humidity. A paver-safe cleaner handles them without damaging the surface.
- Watch the low spot. Any area holding water more than 4 – 6 hours after a storm needs evaluation.
November – April (Dry Season)
- Deep clean once. This is the best window for a full pressure wash (low pressure, wide nozzle) followed by a full joint-sand refill while the pavers are dry and stable.
- Re-sand fully. Every joint, every run, worked into the voids with a broom and settled with light water.
- Seal if due. Dry-season conditions make for the most predictable sealer cure.
- Inspect for settling and movement. The dry months reveal problems the wet season hid. A paver that rocks now is showing you a base weakness.
Notice the difference: wet season is about protecting the joint system and spotting drainage issues. Dry season is about the heavier restoration work – deep clean, full re-sand, and any sealing. Front-loading the heavy work into November through April means the driveway goes into the next rainy season locked tight and protected.
Early Warning Signs: Efflorescence and Root Intrusion
Two failure modes catch Kendale Lakes homeowners by surprise, mostly because the guidance online is thin on both. Catch either one early and it’s a maintenance fix. Catch them late and it’s a repair or a reset.
Efflorescence
That white, chalky haze on pavers is efflorescence – mineral salt that migrates to the surface as water moves through the paver and evaporates. It’s cosmetic in small amounts and can usually be brushed away. Persistent efflorescence is telling you something more important: water is moving through the paver system at a higher rate than it should. In a wet, warm climate, that usually means the base is saturated or the joint sand is too thin to protect the paver body. Look for efflorescence in the low spots and along the outside wheel paths first – the areas taking the most water.
Treat persistent efflorescence as a signal, not a stain. A proper efflorescence cleaner removes the visible salt, but if you don’t fix the water movement, it comes back within a season. That’s why re-sanding to spec is often the real fix.
Root Intrusion
Kendale Lakes yards are full of tropical landscaping that grows aggressively toward moisture – ficus hedges, palms, schefflera, and large foundation shrubs. Roots seek out the wet joint channel and work their way under the pavers. Early signs are subtle:
- A single paver starting to lift 1/8 to 1/4 inch near the edge of the driveway.
- A thin ridge of displaced joint sand along an edge or across a run.
- Weeds reappearing in exactly one joint line season after season.
- A puddle pattern that changes shape after a heavy rain – the water is finding a new low spot.
If you catch this early, root pruning from the landscape side plus targeted re-sand buys you years. Ignore it, and a root can lift an entire section, crack pavers across the joint, and compromise the base before you notice. That’s the transition from maintenance to repair.
Re-Sanding and When DIY Polymeric Sand Backfires
Re-sanding is the single most important maintenance task on a paver driveway in Kendale Lakes. It’s also the task most often done wrong, and the wrong way is worse than not doing it at all.
The shortcut you’ll read online is “drop some polymeric sand in the joints, mist it, done.” That’s roughly half the process. Polymeric sand relies on proper activation – the right amount of water, applied the right way, in the right weather window. In Florida humidity, an under-watered polymeric sand application can cure in a brittle, crusty layer that cracks and washes out within one rainy season. Over-watered, it can haze the paver faces and set unevenly.
Here’s the re-sand process that actually works in this climate:
- Clean and dry fully. Organic matter, debris, and moisture in the joints all interfere with adhesion. The pavers and joints need to be bone-dry before sand goes in.
- Refill all joints to within 1/8 inch of the surface. Not just the exposed ones. The joints that look full are usually the ones about to be exposed by the next storm.
- Compact and settle. A vibrating plate fitted with a pad, worked across the surface, drives sand down into the voids. Don’t skip this step.
- Activate correctly. Follow the manufacturer’s water instructions precisely. Two light mists at the right interval beat one heavy soak every time.
- Keep traffic off for the full cure window. Usually 24 hours minimum, sometimes more depending on humidity. Cars on a half-cured joint = premature failure.
DIY polymeric sand can work when the conditions cooperate. But in a Kendale Lakes summer, you’re fighting afternoon storms and 90% humidity for the cure window. That’s why many homeowners eventually hand the re-sand to a crew with the right compaction tool, the right material, and the ability to schedule around weather. For a base of proper installation, see our guide to Driveway & Pavers in Kendale Lakes.
Which Sealers Actually Hold Up in South Florida
This is where most online paver advice falls apart. Sealers are marketed broadly, sold nationally, and many of the most popular formulas degrade fast in a high-UV, high-humidity environment. The sealer that makes a driveway look great in Ohio can yellow, blister, or peel within two summers in Kendale Lakes. Choosing the right class of sealer matters more than the brand name on the bucket.
What performs in South Florida:
- Breathable acrylic sealers that let moisture vapor escape. In a climate where the base stays wet for months, a non-breathable film traps vapor and causes blistering. Look for products labeled breathable, meant for exterior concrete pavers.
- UV-stable formulations. Standard acrylics yellow under intense sun. UV-stable products hold their clarity through multiple summers.
- Wet-look (enhancing) vs. natural (matte) – a real choice. Enhancing sealers deepen the color and hide aging. Natural sealers keep the original look and show less haze after reapplication. Either is fine; know which one you’re buying.
- Penetrating sealers as an alternative to film-formers in high-traffic zones. They soak in rather than coat, so they don’t peel, but they offer less surface protection from stains.
What to avoid or question:
- Non-breathable film-formers (traps moisture, blisters).
- Cheap acrylics without a UV inhibitor (yellow and peel quickly).
- Any product the installer can’t tell you the recoat interval and cure window on.
- Sealer applied over damp joints or before a heavy rain (exactly the conditions you’re likely to hit in a Kendale Lakes summer).
Reapply every 24 to 36 months. If the surface beads water after the first rain, your sealer is still alive. If it soaks in immediately, it’s time.
The Step-by-Step Kendale Lakes Maintenance Checklist
Here’s the full routine, distilled into one working checklist. Print it or keep it on your phone.
- Every two weeks (wet season): walk the driveway. Check joints along the wheel paths, the street apron, and edges. Top up any joint with less than 1/4 inch of sand.
- Monthly (wet season): rinse. Hose or low-pressure rinse to clear pollen, grit, and organic debris before it sets in.
- After the wet season (October – November): deep clean. Full pressure wash with a wide nozzle, low pressure. Don’t linger in one spot.
- November: full re-sand. Refill all joints to within 1/8 inch of the surface, compact, and activate per manufacturer instructions. This is the single most important task on the list.
- November – December: inspect for settling, rocking, and root lift. Mark any problem areas with landscaping chalk so a pro can evaluate them.
- December – February: seal if due. Every 24 – 36 months, applied in dry-season conditions with a breathable, UV-stable product.
- March – April: pre-season top-up. One more joint sand top-up before the rains return, plus an efflorescence inspection.
- May: check drainage. Confirm water still leaves the property reasonably after a storm. Any new puddle pattern is worth noting.
One more time, because it matters: the paver is not the problem, and the driveway is not the problem. The maintenance rhythm is, and the Kendale Lakes rhythm is wet-season protect, dry-season restore. Follow that and a properly installed paver driveway will last decades.
When Repair Beats Maintenance
Maintenance protects a healthy driveway. Repair rebuilds one that’s failing. The line between them is clearer than most homeowners think.
Maintenance is the right call when joints are low but pavers are stable, efflorescence is minor and isolated, joints wash out evenly, and no single paver rocks underfoot. That’s a healthy driveway that needs its routine, not its skeleton.
Repair is the right call when:
- Pavers rock or lift underfoot along a defined area.
- A section shows visible settling beyond 1/4 inch relative to the surrounding surface.
- Efflorescence returns within one season despite proper re-sanding and sealing.
- Roots have lifted an entire section, or pavers are cracked across a joint line.
- Water stands on the driveway for more than half a day after storms and keeps getting worse.
In Kendale Lakes, we see all five regularly – especially the settled-section and root-lift cases. Our crews have up to 12 years of experience and can walk a driveway, diagnose the failure honestly, and tell you whether a targeted repair preserves the driveway or a section reset makes more sense. Our work is backed by the 730-Day Done Right Promise, so a repair done by our team stays done. If you’re considering a fence line or landscape change alongside a driveway fix, our Fence Installation in Kendale Lakes team can coordinate timing so the grass seeding and the paver work don’t undo each other.
Common Mistakes to Avoid
- Following a national quarterly template. Our wet-dry cycle doesn’t care what a guide written for Ohio says. Skip the fall re-sand and the rainy season will remind you fast.
- Using heavy pressure near the joints. A high-pressure washer aimed straight at a joint blasts the sand out in seconds. Use a wide fan nozzle at low pressure and never hold the wand in one place.
- Applying polymeric sand to wet joints. South Florida humidity gives you a narrow window. If a shower rolled through in the last 24 hours, wait.
- Buying a non-breathable, non-UV sealer off a national shelf. It’ll look fine for one season and peel the next. Ask for UV-stable, breathable products tested for exteriors in hot climates.
- Ignoring a lifted paver near a ficus or palm. A root that’s lifting 1/4 inch now will lift an entire section in two years. Landscape pruning early costs far less than a paver repair later.
- Sealing over efflorescence. A sealer locks the salt haze in the paver and makes removal much harder. Treat the efflorescence and fix the water movement first.
- Re-sanding with ordinary play sand. It has no interlock mechanism, no adhesion, and washes out fast. It’s a stopgap at best and a cycle of repeat washout at worst. See related back-of-house installation notes on our Home Additions & ADU in Kendale Lakes pages where pavers meet structure.
See the difference
 Before
 After
 Before
 After
 Before
 After
When to Call a Professional
Call a professional when the driveway starts telling you the base is compromised, not just the surface. Lift, rocking, section settling beyond 1/4 inch, persistent efflorescence after a proper re-sand, root-lift damage, or standing water that no amount of cleaning fixes – those are the calls where a trained eye either catches a fixable problem or tells you a section reset saves you thousands later. Same if your driveway is due for a full re-sand and seal and you don’t have the compaction tool or the ability to schedule around weather.
Groundwork Construction Co. of Kendale Lakes offers free estimates in Kendale Lakes, with upfront pricing and no surprises. Our crew’s technicians have up to 12 years of experience in South Florida conditions, and every job carries our 730-Day Done Right Promise. Call (844) 834-8961 – a live person answers, 24/7.
Frequently Asked Questions
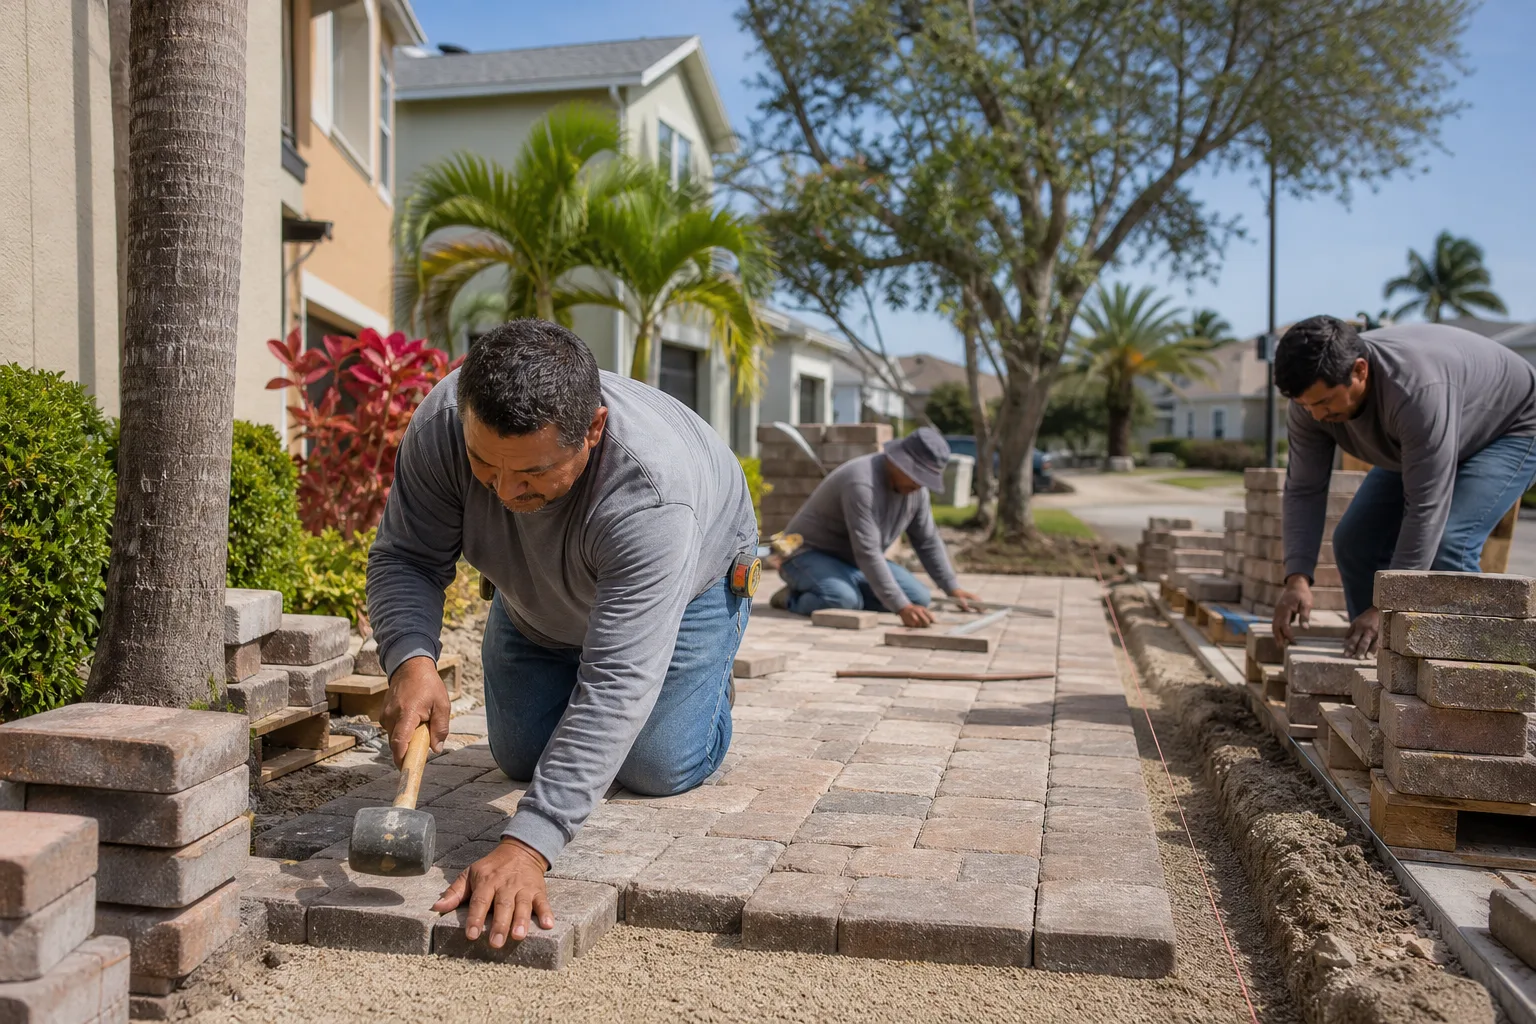
Once a year is the baseline in Kendale Lakes, with a full re-sand in November after the rainy season and top-ups along wheel paths and the street apron in April before the rains return. If your driveway has a low spot or significant tropical root pressure nearby, you may need a mid-season top-up in September as well. Re-sanding is the cheapest maintenance task that protects the most expensive parts of the system, so err on the side of doing it more often, not less.
Yes, if you use a wide fan nozzle, keep the pressure low, and never hold the wand in one spot or aim at joints. The risk is blasting joint sand out, which takes seconds and undoes months of maintenance. Keep the wand moving, work with the joint lines rather than across them, and re-sand any joints that start to look exposed afterward. If your driveway hasn’t been deep-cleaned in a while, a professional pass is often worth it because they can clean and re-sand in one visit.
For a typical Kendale Lakes driveway, a full re-sand and seal usually runs roughly $2 to $4 per square foot depending on square footage, joint condition, and sealer choice. That puts a standard two-to-three-car driveway in the low thousands, not the five-figure numbers you might fear from a full paver replacement. Repair costs vary with scope – a targeted section reset costs less than a partial re-lay, which costs less than a full replacement. Call (844) 834-8961 for an exact quote – estimates are free, and we’ll show you upfront pricing before any work starts.
Persistent efflorescence means water is still moving through the paver system at a higher rate than it should, so the salt keeps migrating to the surface. Cleaning it off treats the symptom. The fix is usually re-sanding to spec to improve joint protection, plus addressing any low spot that lets water pool. If you clean, re-sand, and it comes back within one season, that’s a signal to get the base evaluated – the issue isn’t on the surface anymore.
Yes, in most cases. Sealers need a predictable dry cure window, and an afternoon storm 12 hours after application can ruin the finish, trap moisture, or cause haziness that costs more to fix than the sealer would have cost. Kendale Lakes wet-season storms arrive fast and unpredictably, so the practical rule is to seal in the November – April dry months. If a small emergency repair needs sealing mid-season, a pro can work around a forecast window, but the reliable approach is dry-season sealing.
It’s a repair. Root lift means the base under at least one section has been displaced, and no amount of re-sanding will put it back. The good news is that a targeted correction – pruning the offending root from the landscape side, lifting and resetting the affected pavers, re-compacting the base, and re-sanding – usually preserves the rest of the driveway. Waiting lets the root extend and the displacement spread, so call (844) 834-8961 for a free evaluation before the damage widens.
The Bottom Line
Your Kendale Lakes paver driveway doesn’t fail because of bad pavers. It fails because the maintenance routine is wrong for the climate. Our wet season, low flat lots, limestone soil, and tropical landscaping roots all attack the joint sand and base underneath, and a routine built for a mild climate won’t hold. Protect during the wet season, restore during the dry season, re-sand every fall, seal with breathable UV-stable products every 24 to 36 months, and watch for efflorescence and root lift as early warning signs. Do that and a properly installed driveway lasts decades. Skip it and the reset gets expensive. For a professional evaluation or full maintenance – cleanup, re-sand, and seal in one visit – start with our Groundwork Construction Co. of Kendale Lakes home page and reach out to the team. We’ll inspect the driveway honestly, show you the repair options with upfront pricing, and do the work under the 730-Day Done Right Promise. Call (844) 834-8961 for your free estimate.
Written by the team at Groundwork Construction Co. of Kendale Lakes.