Last updated November 17, 2026

Free written scope consultation - allowances, timeline, and change-order rules on paper before a single trade is scheduled
Driveway & Pavers Warning Signs Every Homeowner Should Know
A single crack in a concrete driveway is a cosmetic issue. A single displaced paver is a structural warning. The two look equally minor when you’re walking to the mailbox, but they carry completely different urgency levels, and the cost gap between catching one early and missing it is the difference between a weekend fix and a full tear-out. Most homeowners in Kendale Lakes never learn to read the signals until the repair quote is already on the table. This guide changes that. You’ll learn what normal settling looks like versus progressive base failure, why water pooling in a new spot after a storm matters more than any crack, and the specific South Florida warning signs that show up in our climate and nowhere else. Catch a $400 problem before it turns into a $4,000 one.
Quick Answer
The most important driveway and paver warning signs are water pooling in new locations after rain, pavers migrating outward at the edges, and joint sand washing away in visible channels. Normal settling is minor and manageable. Progressive base failure, edge creep, and underground water movement are urgent. South Florida adds three specific risks: UV spalling, biological growth in joints from pH imbalance, and separation where the driveway apron meets the street. Any one of those three means it’s time for a professional look.
Styles & brands we work with
- Kitchen remodeling
- Bathroom remodeling
- Home additions & ADU
- Roofing
- Windows & doors
- Driveway & pavers
- Fence
Table of Contents
- Normal Settling vs. Progressive Base Failure
- Why New Water Pooling After a Storm Is the Sign You Can’t Ignore
- Edge Creep: Why Pavers Migrate and Why It Accelerates
- Joint Sand Erosion: The Raking Test That Tells You What’s Happening Underneath
- South Florida Warning Signs: Spalling, Biological Growth, and Apron Separation
- The 10-Minute Driveway Inspection You Can Do This Weekend
- Repair vs. Replace: How to Know Which Conversation You’re Having
Normal Settling vs. Progressive Base Failure
Every paver driveway settles to some degree. That’s not a defect. The base material compacts over months and years, and a fraction of an inch of drop here and there is expected. The distinction that matters is whether the movement has stopped or whether it’s still happening. Normal settling finishes. Base failure keeps going.
What normal settling looks like
- Shallow dips of a quarter inch or less that appear within the first year or two after installation and then stay put
- Pavers that rock slightly underfoot but don’t lift or shift laterally
- Sand in the joints that settles uniformly across the whole surface, not in isolated channels
- A slope that still drains water away from the house and garage
What progressive base failure looks like
- Dips deeper than half an inch, or dips that get visibly worse every few months
- A “roller coaster” feel when you walk across: individual pavers sitting higher than their neighbors like a ridge
- Pavers tilting or rocking with visible gaps opening at the joints
- Depressions concentrated in the wheel paths, which is where the base takes the most load
- A surface that’s still sinking long after year two
A driveway that shows the second list isn’t aging. It’s failing. In our experience across Kendale Lakes, most of these failures trace back to inadequate base depth or a subgrade that wasn’t compacted in proper lifts. Fixing the surface without fixing the base just repeats the problem six months later. That’s the trap to avoid.
Why New Water Pooling After a Storm Is the Sign You Can’t Ignore
Water pooling in a spot that used to drain is the single most important warning sign on a driveway, and it’s the one homeowners dismiss most often as “just rain.” It isn’t just rain. If water is standing somewhere it never stood before, the surface profile has changed. Something underneath has moved. That movement is the story, and the puddle is the headline.
South Florida makes this sign loud. A summer afternoon thunderstorm in Kendale Lakes can drop an inch of rain in fifteen minutes, and a driveway that’s even a fraction off-grade will show it immediately. Pooling isn’t cosmetic. It drives a chain of consequences:
- Water sits on the pavers and in the joints. Standing water accelerates joint sand loss and lets organic material take hold.
- Water infiltrates the base. Saturated base material loses strength and compacts further, deepening the low spot.
- The low spot holds more water. Each storm repeats the cycle and the depression grows. This is called a progressive failure for a reason.
- Water reaches the subgrade. In sandy South Florida soil, water migrates laterally and can undermine adjacent surfaces: the garage slab, a walkway, or the base of a fence post line.
Any standing water that’s still there 24 hours after a storm is worth a professional evaluation. Water that pools anywhere near the garage door threshold or the foundation is worth one sooner. Groundwater at your foundation is a structural issue first and a driveway issue second. If you’re seeing that pattern, our Groundwork Construction Co. of Kendale Lakes home team can walk the site and tell you which problem you actually have.
Edge Creep: Why Pavers Migrate and Why It Accelerates
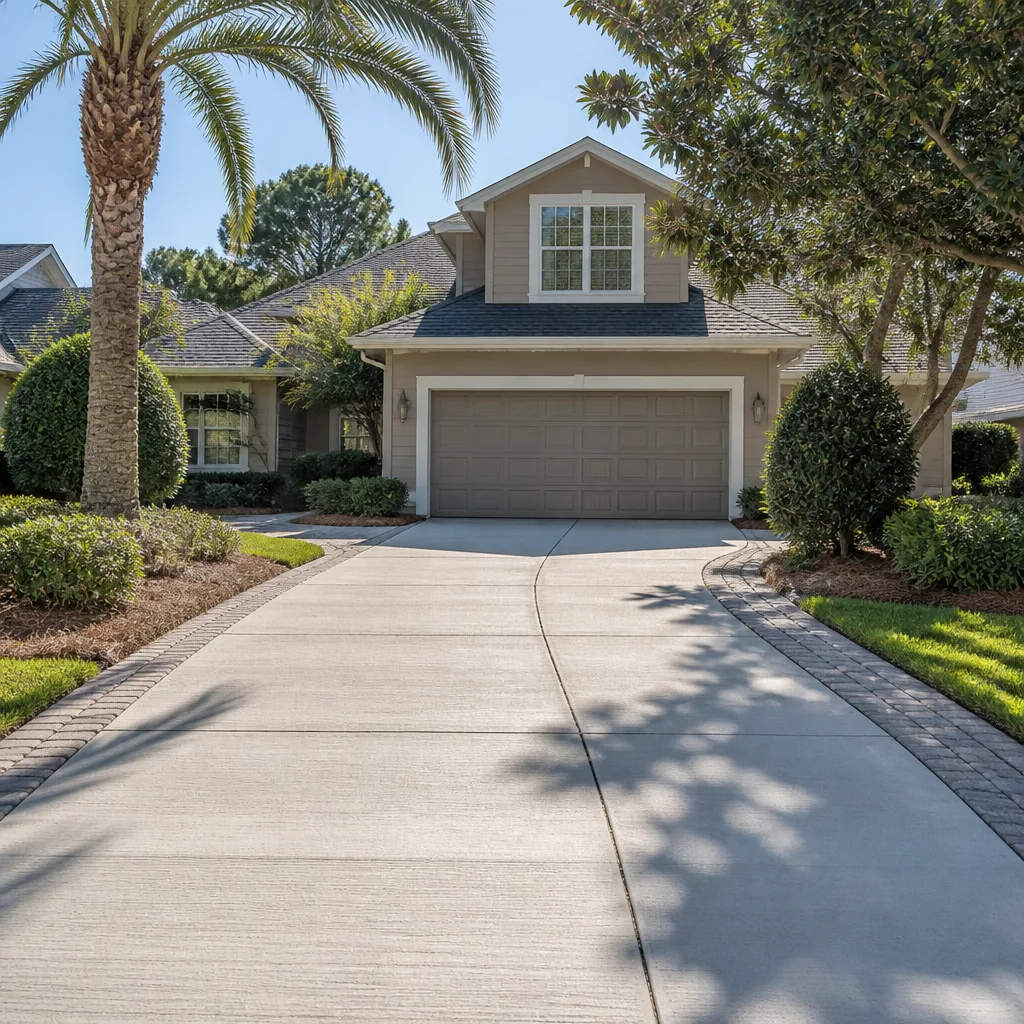
Walk to the outside edge of your driveway and look down. The pavers should form a straight, tight line where they meet the grass, curb, or landscape bed. If that line is wandering outward, if the outermost pavers are loose, cocked at an angle, or separated from the rest by gaps that weren’t there a year ago, you have edge creep.
Edge creep is caused by lateral pressure. The pavers want to spread outward under load, and the only thing keeping them in place is the edge restraint: the concrete curb, aluminum edging, or plastic restraint that physically holds the field. When that restraint fails, or was never adequate to begin with, the outer course starts walking. It doesn’t stop on its own. Once the restraint has failed, every car pulling in and every foot of load on the surface pushes particles outward a little more. The failure accelerates. The reason it matters is that once the edge opens, the joint sand drains out. Sand loss means the pavers are no longer locked together. Unlocked pavers with no edge support will continue to migrate indefinitely.
What to look for on your edge
- Visible gaps between the outer pavers and the restraint, even a quarter inch
- Edge restraint that’s cracked, tilted, or sitting above the paver surface
- Pavers at the edge that lift or rock freely when you step on them
- Soil or grass that’s grown over the edge, hiding the disappearance of your driveway
In our experience, edge creep is the most overlooked sign because it happens slowly and at the perimeter where nobody looks. It’s also one of the cheapest problems to fix early: re-set the restraint, replace sand, and the field tightens back up. Wait a season, and you’re pulling up two rows instead of one. A short fence line or landscape bed next to a creeping driveway edge is worth checking too. Our Fence Installation in Kendale Lakes team routinely sees fence posts leaning where the driveway edge failed and undermined the soil alongside it.
Joint Sand Erosion: The Raking Test That Tells You What’s Happening Underneath
Joint sand does more than finish the look. It locks the pavers together into a single, load-bearing surface, and it seals the joints against water penetration. When it erodes evenly across the whole driveway, that’s normal weathering and it’s a maintenance item: re-sand once a year or so and move on. When it erodes in isolated channels or patterns, that’s a signal that water is moving somewhere it shouldn’t.
The raking test
Drag a stiff leaf rake lightly across the surface. You’re not trying to dig; you’re feeling the surface. Then walk the driveway and look straight down at the joints.
- Microscope the joints near the garage door and along the lowest areas. If those joints are noticeably deeper or emptier than the rest of the field, water is concentrating there.
- Look for joint-sand loss in linear patterns. Channels of missing sand that run in a line, or that arc across the surface, indicate underground water flow. Water is migrating under the pavers and escaping through those joints.
- Check the base of the driveway apron. Where the driveway meets the street, the joints take the most vehicle load and the most surface water. Those joints are always the first to lose sand.
- Probe with a screwdriver at a joint you know is deep. If the sand under the joint is soft, wet, or nonexistent within the first inch, water has already washed the bedding layer hollow. That’s a base problem wearing a sand problem’s clothes.
Normal weathering shows up as sand loss that’s spread across the whole surface. Underground water movement shows up as sand loss you can trace with your eye. The second one calls for more than re-sanding. Our Driveway & Pavers in Kendale Lakes crews see this pattern most often after a heavy wet season, and we can tell within a few minutes of inspection which pattern you have. If you’ve just had pavers installed, one detail seals the whole conversation: polymeric joint sand with proper compaction. Our material partners, including Belgard, spec it for exactly this climate, and it’s the difference between joints that last and joints you fight every year.
South Florida Warning Signs: Spalling, Biological Growth, and Apron Separation
South Florida drives pavers harder than almost anywhere in the country. Kendale Lakes sits in a zone that gets intense UV year-round, heavy summer rain, and warm humid air that biological growth loves. Three specific warning signs show up here that homeowners in cooler climates never see.
1. UV spalling
Spalling is when the top surface of a paver flakes, pits, or scales off. Some paver types are more vulnerable than others, but prolonged UV exposure and moisture cycles will eventually break down low-quality or improperly sealed surfaces. Look for:
- Rough, pitted spots on pavers that used to feel smooth
- Chalky residue or a powdery film that returns after rain
- Edges and corners that are flaking, not cracking
- Color that’s fading rapidly on the sunniest face of the driveway and nowhere else
Spalling isn’t just cosmetic. Once the surface layer is compromised, water penetrates the paver itself and freeze-free, wet-dry cycling here accelerates the breakdown. Look at the sun-facing pavers on a mid-summer afternoon: if they look chalky or grainy compared to the shaded ones, you’re seeing UV damage in progress.
2. Biological growth in the joints
Green or black growth in the joints is normal in a humid climate, up to a point. When it starts appearing specifically in some joints and not others, that’s a pH imbalance in the joint sand or ongoing moisture in one area. Organisms grow where water sits. Patterns of growth, especially stripes or blotches that trace back to a low spot, indicate that area stays wetter than the rest of the driveway. In Kendale Lakes, this is worth acting on because it’s a free map of your drainage issues. Clean it, seal it, and if it keeps returning to the same joints, the water underneath is still there.
3. Apron-to-street separation
The driveway apron is the concrete or paver section between the sidewalk and the street, and it’s where road movement shows up on your property. The apron is exposed to utility work, tree root growth, street paving projects, and normal soil shifting. Look for a gap opening at the seam between the apron and the street, or between the apron and the rest of the driveway. A half-inch gap in that seam means the seam has lost its interlock and road runoff is heading under the apron. That gap will widen with traffic. If the city has done any utility work near your street, check that seam first.
The 10-Minute Driveway Inspection You Can Do This Weekend
You don’t need equipment for this. You need ten minutes and a critical eye. Do it after a healthy rain if you can, ideally the morning after a storm.
- Walk the perimeter first. Look at the outer edge. Are the pavers tight against the restraint? Any gaps, cocked pavers, or wandering lines? That’s your edge creep check.
- Walk the field barefoot or in sock feet. You’ll feel rocking, high pavers, and dips faster than you’ll see them.
- Look for standing water on the driveway or in the landscape bed at the driveway’s edge. Note any location that stays wet 24 hours after rain. Photograph it.
- Squat at the garage door and look down. The joints at the door threshold are the first place to show sand loss and the most important place for water to stay away from.
- Check the apron-to-street seam. Any separation? Runoff from the street is heading somewhere.
- Scan for spalling and growth patterns. Chalky pavers, flaking edges, and biological growth in specific joints.
- Look at the joints overall. If you can see the sand-striped vertical gaps clearly and deeply across the surface, you’re due for re-sanding. If they’re deep in channels only, that’s a call-a-pro sign.
- Last, look at anything else that sits on the driveway’s edge. A fence post, a planting bed, a retaining wall. If any of them have tilted, the driveway edge may have undermined their base.
Photograph anything that concerns you. It’s the difference between “I think it’s been doing that for a while” and being able to show exactly what changed. Those photos are also the best starting point for a free estimate conversation.
Repair vs. Replace: How to Know Which Conversation You’re Having
The honest answer depends on how much of the base is failing. Surface issues on an intact base are repairable. Base failure across a wide area means replacing the surface and the failure underneath it. Here’s how to tell:
| What you’re seeing | Likely Scope |
|---|---|
| Sand loss across most joints, evenly | Re-sanding and sealing. Routine maintenance. |
| Edge creep with loose outer pavers | Edge restraint reset, re-set outer course, re-sand. Often a one-day job. |
| One isolated low spot, still deepening | Partial tear-out and localized base repair. |
| Multiple low spots, roller-coaster surface | Full base replacement across the affected field. This is a rebuild. |
| Water pooling against the foundation or garage door | Full evaluation of grade and drainage, then base repair plus regrade. |
| Widespread spalling across the whole surface | Surface replacement. The paver itself is failing. |
Most of the driveway conversations we have in Kendale Lakes end in a partial repair that was far cheaper than the homeowner expected, because they caught the problem early. The rest are rebuilds that could have been partial repairs two years earlier. Which one you’re facing comes down to how much of the base has moved, and that’s determined by inspection, not by eyeballing. Our Home Additions & ADU in Kendale Lakes team routinely sees what a failing base does to a foundation edge, so we don’t treat driveway grading as housekeeping. It’s structural work with a decorative surface.
Common Mistakes to Avoid
- Treating sand loss as cosmetic maintenance when it’s happening in channels. Even spreading is weathering; channeling is underground water movement. Re-sanding without fixing the source wastes the work and the money.
- Ignoring a low spot because it “has always been like that.” If your memory says the pool used to drain, it was never this low. Check a photo from a few years ago and you’ll know.
- Sealing a wet driveway. Sealing over a damp surface or a joint that’s holding water traps moisture under the sealer and turns a small problem into a spalling mess. Wait for a genuinely dry stretch.
- Assuming the pavers are the problem. Pavers are the hardworking, durable layer. The base beneath them is where failures happen. Replacing pavers over a failing base just hides the problem for a year.
- Letting biological growth linger at the apron. Growth at the street seam is a moisture indicator, not just a cleaning chore. It means road runoff is getting under the apron. Clean it, but also check the seam.
- Re-sanding without polymeric sand. Standard kiln-dried sand washes out in a single rainy season in Kendale Lakes. Polymeric sand binds and seals. Ask your contractor which one they specified.
- Ignoring a fence or retaining wall that’s leaning near the driveway edge. Movement at the driveway edge affects the soil around it. A leaning post is a structural signal you’ll want to read before it turns into a hole.
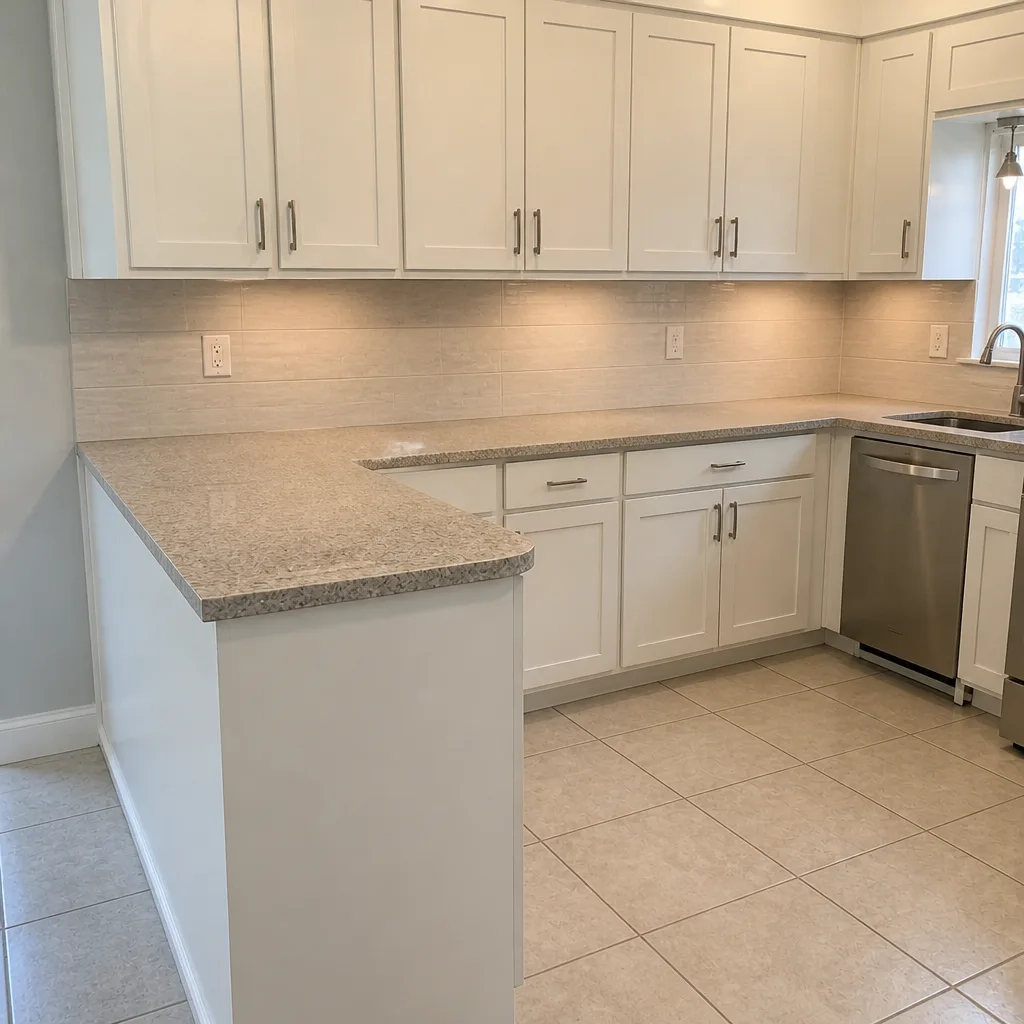
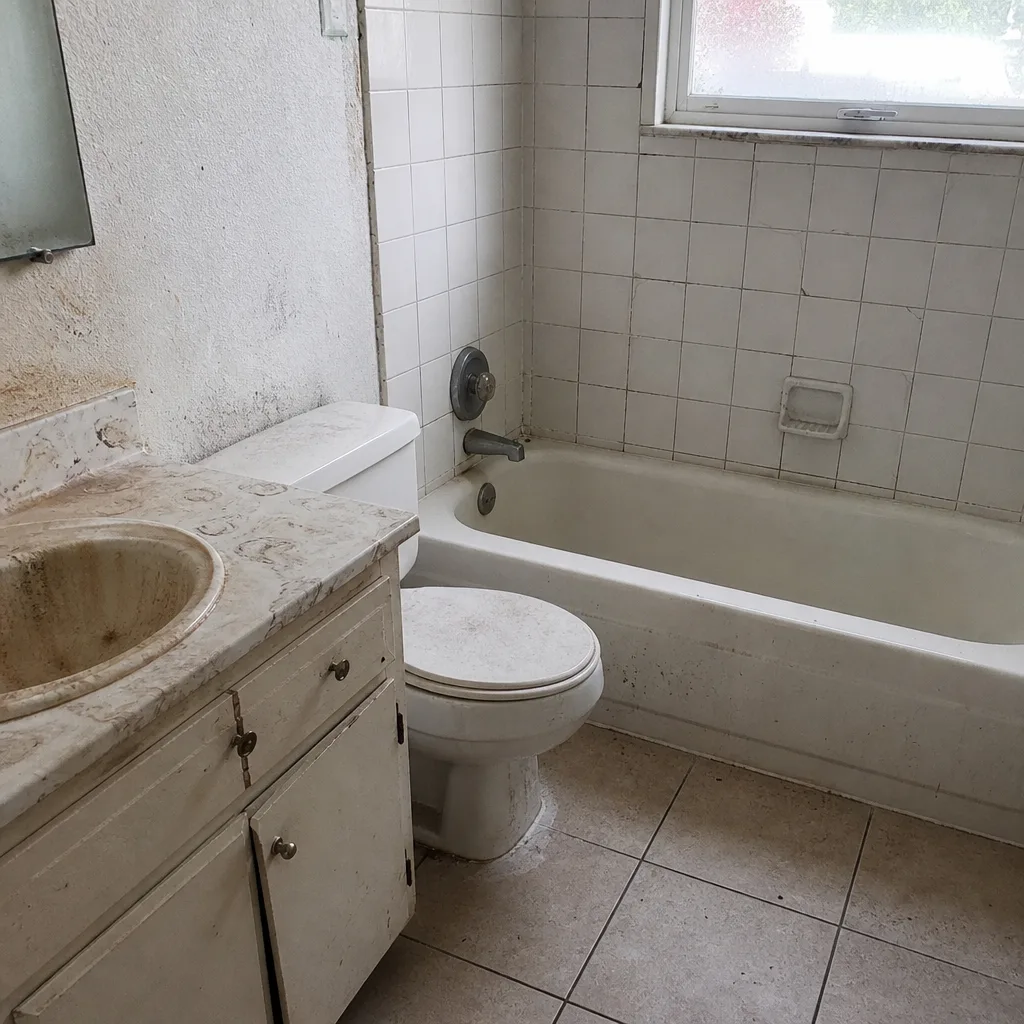
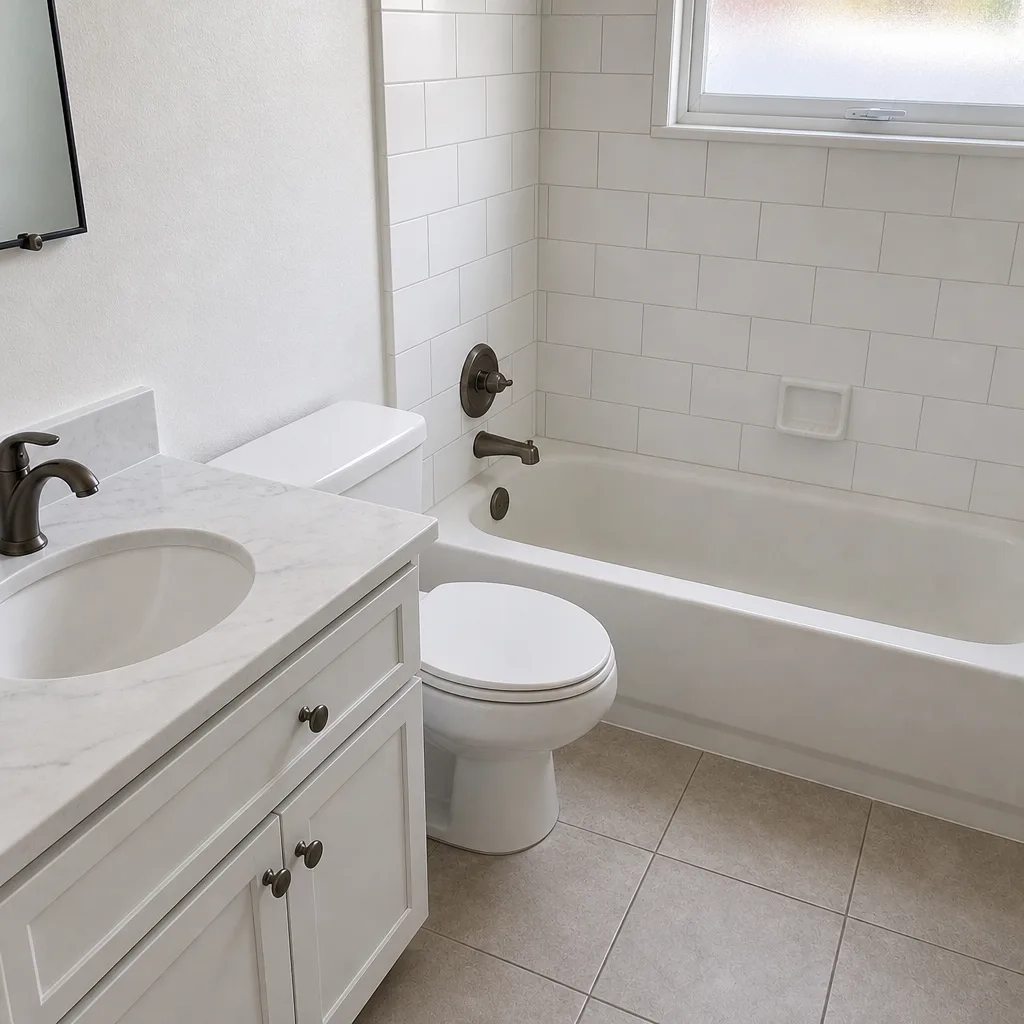
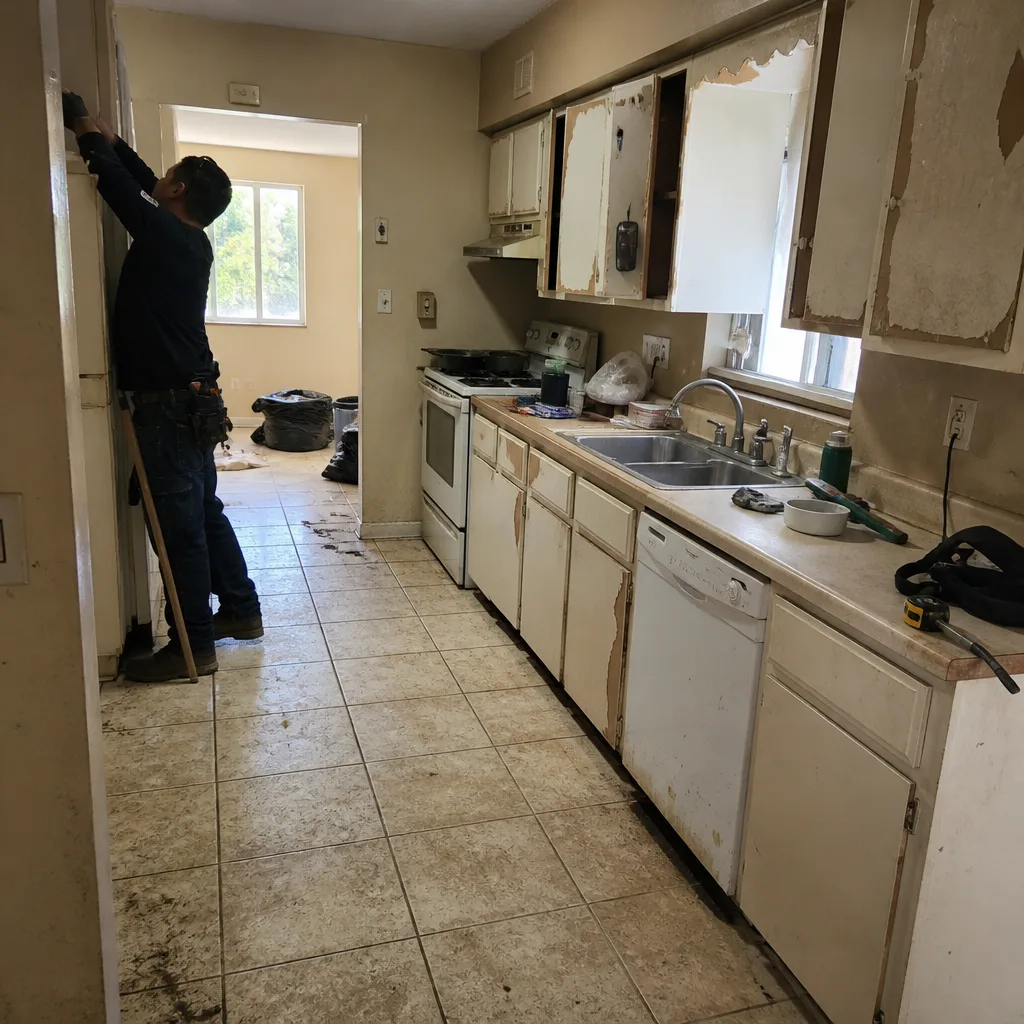
See the difference
 Before
 After
 Before
 After
 Before
 After
When to Call a Professional
Call a professional when you can answer yes to any of these: standing water in a location that drained before, edge creep with loose outer pavers, joint sand loss in visible channels or stripes, sinking that’s still progressing after year two, spalling or flaking on the paver surface, or any separation at the apron-to-street seam. Also call if the driveway low spot abuts the garage door threshold or the house foundation. That pattern means water is working against a structural element, and it needs to be evaluated, not just watched. Our technicians have up to 12 years of experience reading these signals and can tell you in one visit whether you’re looking at $400 or something larger. Groundwork Construction Co. of Kendale Lakes offers free estimates in Kendale Lakes, backed by our 730-Day Done Right Promise and upfront pricing that doesn’t change once the work starts. Call (844) 834-8961 to schedule your free estimate.
Frequently Asked Questions
Water pooling in a new location after a storm. It’s the fastest indicator that the surface profile has changed and something underneath has moved. It’s easy to dismiss as “just rain” but every puddle that stays for 24 hours is telling you the base is now failing in that spot. Call (844) 834-8961 for an exact quote if you’re seeing it, because estimates are free.
Re-sanding and sealing a typical two-car driveway runs in the several-hundred-dollar range. Restoring edge restraint and re-setting an outer course usually runs a few hundred more. Partial base repair with localized tear-out is a bigger line item, and a full rebuild is the most significant. The reason the ranges matter is that the same symptom can land in two very different scopes. A free estimate will give you a written number before any work starts, and the number you see is the number you pay.
Not with us. Upfront pricing means the estimate you get is the price you pay, and the 730-Day Done Right Promise covers the workmanship if anything isn’t done right. That’s the whole reason to get a written estimate with line items instead of a verbal “we’ll figure it out” number.
Watch whether it’s still happening. Normal settling finishes within the first year or two after install and then stays put. Base failure keeps progressing: the dip gets deeper, more pavers rock, and edge creep follows. If a dip is measurably worse now than it was last season, you’re looking at failure, not settling.
Re-sanding, sealing, and routine surface restoration typically don’t require permits. Full driveway replacement, changes to your apron, or work that affects drainage toward the street may require permitting through the local building department. Your contractor should tell you exactly which permits are needed before starting. That’s one of the questions we answer in every free estimate conversation.
Because the surface under that spot has moved. Either base material has compacted or washed out, or the pavers have shifted enough to create a low point that didn’t exist before. Either way, the pool is a symptom and the base is the cause. Fix the pool by patching the surface and it comes back next rainy season. Fix the base and it stops. Call (844) 834-8961 to get the base inspected.
The Bottom Line
Your driveway tells you when it’s failing, if you know what to look for. The pool that stays 24 hours after a storm, the pavers migrating at the edge, the sand washing out in channels, the chalky surface on the sun-facing pavers, the gap opening at the apron seam. Each of those is a specific signal with a specific cause and a specific repair. Catching them early is the difference between a partial repair and a rebuild. Our advice: walk your driveway this weekend after a storm, shoot a few photos, and call if anything on this list is there. Groundwork Construction Co. of Kendale Lakes does free estimates, live-person answering 24/7, and upfront pricing that doesn’t move.
Call (844) 834-8961 to schedule your free estimate. We’ll tell you exactly which conversation you’re having, in writing, with line items and a number that doesn’t change.
Written by the team at Groundwork Construction Co. of Kendale Lakes.