Last updated November 17, 2026
Free written scope consultation - allowances, timeline, and change-order rules on paper before a single trade is scheduled
DIY vs Professional Driveway & Pavers: What’s Safe to Do Yourself
Here’s the part nobody shows you on YouTube: every paver failure we’ve ever torn out started below the surface. The tutorials begin with the satisfying part – tapping that first paver into place on a neat bed of sand – and skip the 6 to 8 inches of excavation, gravel, and compaction that decide whether your driveway lasts two years or twenty. This guide breaks down exactly which phases of driveway and paver work a capable homeowner can safely handle, which phases will quietly undo everything you build on top of them, and what Miami-Dade County law says about who’s allowed to touch what in Kendale Lakes. By the end, you’ll know where your weekend time is worth spending and where it’s actually costing you more.
Quick Answer
You can safely DIY the visible, low-risk parts of paver work – pattern layout, resetting a single sunken paver, refilling joint sand, and applying sealer. You should not DIY the base preparation or any work that requires a permit, because excavation depth, subgrade compaction, and gravel layering are where DIY jobs almost always fail, and Miami-Dade County requires a licensed contractor for structural driveway work. Hire out the base and the permitting, do the finish work yourself if you have the patience for it.
Styles & brands we work with
- Kitchen remodeling
- Bathroom remodeling
- Home additions & ADU
- Roofing
- Windows & doors
- Driveway & pavers
- Fence
Table of Contents
- Why the Base Is the Whole Ballgame
- What’s Genuinely DIY-Safe (and What Isn’t)
- Why Renting a Plate Compactor Isn’t Enough
- Miami-Dade Permits: The Legal Line You Can’t DIY Across
- The Real Cost Comparison: DIY vs Professional
- The Hybrid Approach: Hiring the Base, Finishing Yourself
- How to Vet a Contractor for Base Work
- Kendale Lakes Climate and What It Does to Pavers
Why the Base Is the Whole Ballgame
A paver driveway is a system, and the pavers are the least important layer in it. Underneath every square foot you can see sits roughly 4 inches of compacted crushed aggregate (the base), another inch of bedding sand, and then the soil that has to drain and hold. The pavers themselves are just the wear surface. When a driveway sinks, heaves, or develops that spiderweb of wobbling stones near the garage apron, the problem is almost never the pavers. It’s the 6 inches underneath that weren’t excavated to the right depth, layered at the right thickness, and compacted to the right density.
In our experience across Kendale Lakes, the failures cluster in specific places. Driveways that meet a swale or drainage easement sink at the low end. Driveways on lots with a high water table – common in the neighborhoods near the canals – heave after the wet season because water has nowhere to go and pushes the base apart. And driveways poured over old concrete or root-compromised soil fail within the first two summers. The excavation phase has to remove all of that, then build back with a compacted, graded base that sheds water away from the house.
Here’s why doing this phase yourself is a gamble even if you’re strong and motivated:
- Depth is non-negotiable. Residential driveways typically need 6 to 8 inches of total excavation for the base and bedding, deeper if the subgrade is soft. Under-excavate and the finished driveway sits too high against the garage slab and holds water at the door.
- Compaction happens in lifts. You don’t compact 6 inches at once. You compact in 2- to 3-inch layers, and each layer needs multiple passes at the right moisture content.
- Slope has to be graded in. A 1 to 2 percent slope away from the structure is a design requirement, not an aesthetic choice. Get it wrong and water pools against your foundation in a Kendale Lakes rainy season.
That base work is also the layer that determines whether the pavers stay put, which is why we treat driveway work as one continuous job from the first excavation pass to the last pass of the plate compactor. When you’re planning a larger hardscape scope – a driveway plus a walkway plus a patio – the base has to be coordinated across all of it, and that’s a conversation worth having before anyone breaks ground.
What’s Genuinely DIY-Safe (and What Isn’t)
Not everything about paver work is a professional-only zone. There’s a real middle ground where a careful homeowner with patience and the right tools can save money without endangering the project. Here’s how we’d draw the lines honestly.
Genuinely DIY-Safe
- Paver pattern design. Choosing a herringbone, running bond, or basketweave layout is design work, and you know your house’s style better than anyone. Lay out a dry run on a section of grass to see how it reads.
- Resetting a single sunken or lifted paver. If one stone has settled below the rest, you can lift it, top up the bedding sand, and reset it. This is the one repair task where DIY makes sense.
- Joint sand refilling. Polymeric joint sand washes out over time, especially in South Florida’s wet season. Refilling joints annually keeps the pavers locked together and keeps weeds from getting a foothold.
- Sealing. Applying a penetrating or film-forming sealer every 2 to 3 years is a straightforward weekend job once the driveway is established. Clean, dry, apply, cure.
- Weeding and moss removal. Mechanical removal with a hand tool, no chemicals required.
Not DIY-Safe (Regardless of Skill)
- Excavation and subgrade prep. Even with a rented excavator, getting the depth and slope right on a full driveway is a project in itself.
- Base gravel layering and compaction. The compaction standard requires equipment and technique most homeowners don’t have.
- Any work crossing a drainage easement or touching the public right-of-way. That’s a permitting matter in Miami-Dade.
- Structural retaining walls or grade changes. Anything holding back earth above 4 feet is an engineering question, not a paver question.
- Electrical or drainage tie-ins. Trenching over utility lines without a locate and permit is a hard stop, and one we won’t do without locates either.
The pattern here is that DIY is safe when you’re working on a finished surface and safe-to-skip when the work lives under the ground. For larger scope questions about how hardscape ties into the rest of a property, our team at Groundwork Construction Co. of Kendale Lakes is the place to start.
Why Renting a Plate Compactor Isn’t Enough
Here’s a scene we see more than you’d think: a homeowner rents a plate compactor from a Kendale Lakes equipment rental yard, runs it over the gravel for an afternoon, and calls it done. Three months later the driveway is rutting. The rental wasn’t wasted, but it was incomplete. Renting the tool solves the “I don’t own the tool” problem. It doesn’t solve the technique problem, the moisture problem, or the layer-by-layer problem.
Compaction isn’t a binary. A vibratory plate compactor transfers energy into the soil through vibration and static weight. Whether that energy actually densifies the gravel depends on four variables:
- Moisture content. Gravel compacts best near its optimal moisture – damp but not saturated. Too dry and particles don’t slide into place. Too wet and the plate just makes mud. In Kendale Lakes, the wet season pushes everything toward the too-wet side, which is why the timing of base work matters.
- Lift thickness. A small plate compactor can’t effectively densify more than 3 inches at a time. Layering 6 inches and running the plate on top means the top 2 inches get densified and the bottom 4 don’t. That bottom 4 inches is what fails.
- Number of passes. The industry rule of thumb is 4 to 6 passes per lift, in overlapping pattern, at walking speed. Most DIYers do 1 or 2.
- Plate size relative to area. A hand plate compactor is fine for a patio. For a 400-square-foot driveway, it’s the wrong tool, and a jumping jack or a ride-on roller is what densifies efficiently at scale.
The right answer isn’t a plate compactor. It’s a plate compactor plus moisture testing, plus the discipline to lay and compact each 3-inch lift separately, plus a way to verify density before you put bedding sand down on top. That last verification step is what separates a base that lasts 15 years from one that lasts two. It’s also the step almost every Home Depot rental tutorial leaves out.
If you’re curious what proper base work actually looks like from the side, ask for it before you sign anything. A contractor who can’t describe their compaction process in detail is a contractor who’s skipping it. That’s part of why we’re direct with customers about how scope decisions on the hardscape affect the grading around additions – the base work on a driveway and the grading strategy on an addition are the same conversation.
Miami-Dade Permits: The Legal Line You Can’t DIY Across
This section matters more than any other in this guide, because DIY skill doesn’t override municipal law. In Miami-Dade County, driveway construction that connects to the public right-of-way, changes the impervious surface area of a lot above a threshold, or works within a drainage easement typically requires a permit – and pulling that permit requires a licensed contractor. You cannot lawfully pull a permit as a homeowner for structural hardscape work in this county, and skipping the permit doesn’t make the work legal. It just means your problem surfaces at resale or after a storm.
Practically, here’s what to expect when we pull permits for a driveway project in Kendale Lakes:
- Site plan review. The county looks at the lot survey, existing impervious coverage, drainage flow direction, and proximity to easements. Kendale Lakes lots are often hemmed in by utility easements in the rear of the property, and the driveway has to be located to respect those.
- Right-of-way cross-check. If the driveway apron meets the county right-of-way, the apron detail has to match the county standard. That’s a drawing, not a guess.
- Inspection. The inspector wants to see the base before pavers go on. Skip the permit and you skip this inspection, but you also skip the only third party who could have caught a base that was never going to hold.
If your property has a homeowner’s association – and many Kendale Lakes communities do – you’ll also need community-level architectural review of the paver style, color, and layout. That’s another place where doing the design phase yourself is fine, but doing the construction phase unpermitted is not.
And it’s not just driveways. Fence installation on the property line close to a canal or easement carries its own permitting questions – Fence Installation in Kendale Lakes is a good example of a project that looks simple but often isn’t once the survey comes out.
The Real Cost Comparison: DIY vs Professional
The number most DIY cost comparisons miss is time. Renting the compactor for three days, buying or renting a wheelbarrow and shovels, hauling gravel by the yard, plus the weekend labor it takes to lay 400 square feet of pavers – that time has a value, and the base failure risk adds a repair cost that professional installation warranties cover. Here’s the honest side-by-side for a typical 400-square-foot driveway area, priced for the South Florida market.
| Line Item | DIY Range | Professional Range |
|---|---|---|
| Excavation and debris hauling | $0 if you own equipment; $600 – $1,200 if rented | $900 – $1,800 |
| Base gravel (delivered, ~6 cu yd) | $500 – $900 | Included |
| Plate compactor rental (3 – 5 days) | $250 – $400 | Included |
| Bedding sand | $150 – $300 | Included |
| Pavers (mid-grade concrete, ~400 sq ft) | $1,200 – $2,000 | $1,200 – $2,400 |
| Permit and inspection | Not legally available to homeowner | $200 – $600 |
| Labor | Your weekends, 3 – 6 weekends realistically | Included |
| Warranty | None | 730-Day Done Right Promise on our workmanship |
| Typical total | $2,700 – $4,800 out of pocket, plus weekends | $6,500 – $10,500 installed |
That gap looks large until you price the do-over. A DIY driveway that fails in the base after two years typically needs full tear-out and rebuild, and that rebuild is usually more expensive than doing it once with a warranty, because the failing base has to be excavated and hauled again. Our pricing is upfront and fixed, and the number you see is the number you pay – stacked with 0% financing for 18 months and $1,000 off projects over $10,000, the gap narrows further for larger driveways and combo hardscape jobs.
The Hybrid Approach: Hiring the Base, Finishing Yourself
A reasonable middle path exists, and we’ll explain it honestly because it’s sometimes the right call for a homeowner who genuinely wants to lay the visible pavers. The hybrid is: hire a licensed contractor to handle excavation, base prep, compaction, permits, and the bedding sand, then lay, cut, and finish the pavers yourself. Here’s how to structure it so it goes right.
- Define the scope in writing. The contractor’s scope should explicitly end at “bedding sand screeded, joint sand not placed, pavers not installed, sealer not applied.” That way there’s no argument later about who’s responsible for what.
- Get the compaction documented. Ask for the number of lifts, the plate size or roller spec, and the moisture testing method. Best case, ask for photos at each lift. If the base has to be verified before pavers go on, the contractor should be the one holding the inspection.
- Confirm the permit covers full-scope installation. Some permits are written for a specific scope. If the homeowner is doing finish work, the permit needs to reflect that or the contractor needs to be listed as responsible for the complete project.
- Lock in the warranty terms for the base itself. A base warranty is the most valuable piece of paper in a hybrid job. If the base settles in two years and the contractor won’t stand behind it, you own the repair.
- Schedule the finish work within 30 days. Bedding sand should not sit exposed for months. Rain and foot traffic will disrupt the screed, and you’ll need to re-screed before laying.
- Don’t touch the base once approved. We’ve seen homeowners “improve” a finished base with extra gravel or a hand-level and introduce a slope that pushed water toward the garage. Leave it alone.
The hybrid is a legitimately good option if you love the work and want the paver layout exactly as you pictured it. It’s a bad option if you’re choosing it to save 20 percent, because the finishing labor is rarely where the savings actually sit.
How to Vet a Contractor for Base Work
If you’re hiring out the base, the contractor you pick matters more than the pavers you choose. Here’s what to ask and what to put in writing, based on the questions we wish more homeowners asked before signing a bid from anyone.
What to Ask Up Front
- “Walk me through your excavation depth and why.” A real answer names the depth, the soil condition you’re working with on that specific lot, and the reasoning. A vague answer (“as needed”) is a tell.
- “How many lifts, and how many passes per lift?” Two to three is the answer for lifts. Four to six for passes. If they don’t know, they aren’t doing it.
- “What’s the moisture testing method?” Hand-squeeze test is better than nothing. A nuclear density gauge or calibrated moisture meter is what a serious outfit uses on larger jobs.
- “Who pulls the permit, and will you show me the approved copy?” The licensed contractor’s name should be on the permit. Not the homeowner.
- “What does the warranty cover?” Get it in writing, and get the term length in writing. A workmanship warranty that covers settling and base failure is not the same as a warranty that only covers cracked pavers.
- “Who’s showing up to do the work?” A crew in an unmarked van is a red flag. Ask whether technicians are background-checked and arrive in uniform – that’s what professional presentation looks like.
What Goes in the Contract
- Scope: excavation depth, gravel spec and tonnage, sand type and depth, compaction method, edge restraint spec.
- Permits: who pulls, who pays, who’s listed.
- Warranty: term, what’s covered, what voids the claim.
- Payment schedule tied to milestones, never fully upfront.
- Change order policy: fixed price with written approval required for any change.
- Timeline with start and finish dates, and what happens if weather delays.
If you’re bringing a hybrid job to us, we’ll quote it line by line, put the scope exclusion on page one, and back the base work with our 730-Day Done Right Promise. If anything under the base fails within that window, we make it right. Homes in this county can be unforgiving to base work, and a written warranty is how we prove we didn’t cut it.
Kendale Lakes Climate and What It Does to Pavers
Kendale Lakes sits in a subtropical climate with a wet season from May through October, an average annual rainfall that pushes 60 inches, and a water table that in many lots sits shallower than you’d like. All three facts directly rewrite what a durable paver driveway looks like here versus in, say, Phoenix or Denver.
Three local realities that change the calculus:
- Water table and drainage. When the water table is high, the base has to be designed to drain, which usually means a perforated underdrain or an engineered slope rather than a flat gravel bed. A base that ignores drainage in Kendale Lakes will fail faster than the same base in a drier climate.
- Storm intensity. A single summer thunderstorm can drop 2 inches of rain in an hour. That’s a scour event for a base with joint sand washed out, and it’s why polymeric joint sand and annual re-sanding aren’t optional here.
- Sun and heat cycling. Pavers expand and contract with daily temperature swings. Proper edge restraint and correct joint spacing matter more here than in places with mild summers.
The result is that a driveway installed in Kendale Lakes is doing harder work than a driveway installed in a temperate market, which makes skipping professional base work a bigger risk than it might look in a national tutorial. The paver materials themselves – Belgard, for instance, makes products rated for this climate – aren’t the problem. The base is.
Common Mistakes to Avoid
- Skipping the excavation survey. Untouched existing asphalt, an old paver bed, or a 30-year-old concrete apron underneath your new driveway will telegraph through within 18 months, and the whole job has to come out. In Kendale Lakes, we’ve seen driveways fail over remnants of an old patio six inches below grade.
- Layering gravel without lifts. Dumping 6 inches of gravel and running a plate compactor over the top leaves the bottom lift uncompacted. Compacting in 2- to 3-inch lifts is the requirement, not a suggestion.
- Under-excavating to save on hauling costs. Every inch of excavation you skip adds hundreds of dollars later, and the driveway will sit high against the garage slab and pool at the door in the first rainy season.
- Reusing excavated soil as fill under the base. Native Kendale Lakes fill is often sandy, organic, or clay-laden, and it doesn’t compact. It has to be removed and hauled out.
- Skipping the permit for fear of cost. An unpermitted driveway usually surfaces at resale, and by then the county can require full teardown to inspect the base. Kendale Lakes has active property inspection cycles that catch exactly this.
- Laying pavers before the base inspection. If the base has to be inspected, the pavers can’t go down until the inspector signs off. Laying pavers first and asking forgiveness after is a permit violation, and the county can require the pavers come up.
- Refilling joint sand with the wrong product. Fine sand and generic masonry sand wash out in one wet season. Use polymeric joint sand and refill annually, especially along the driveway’s low end where water pools.
See the difference
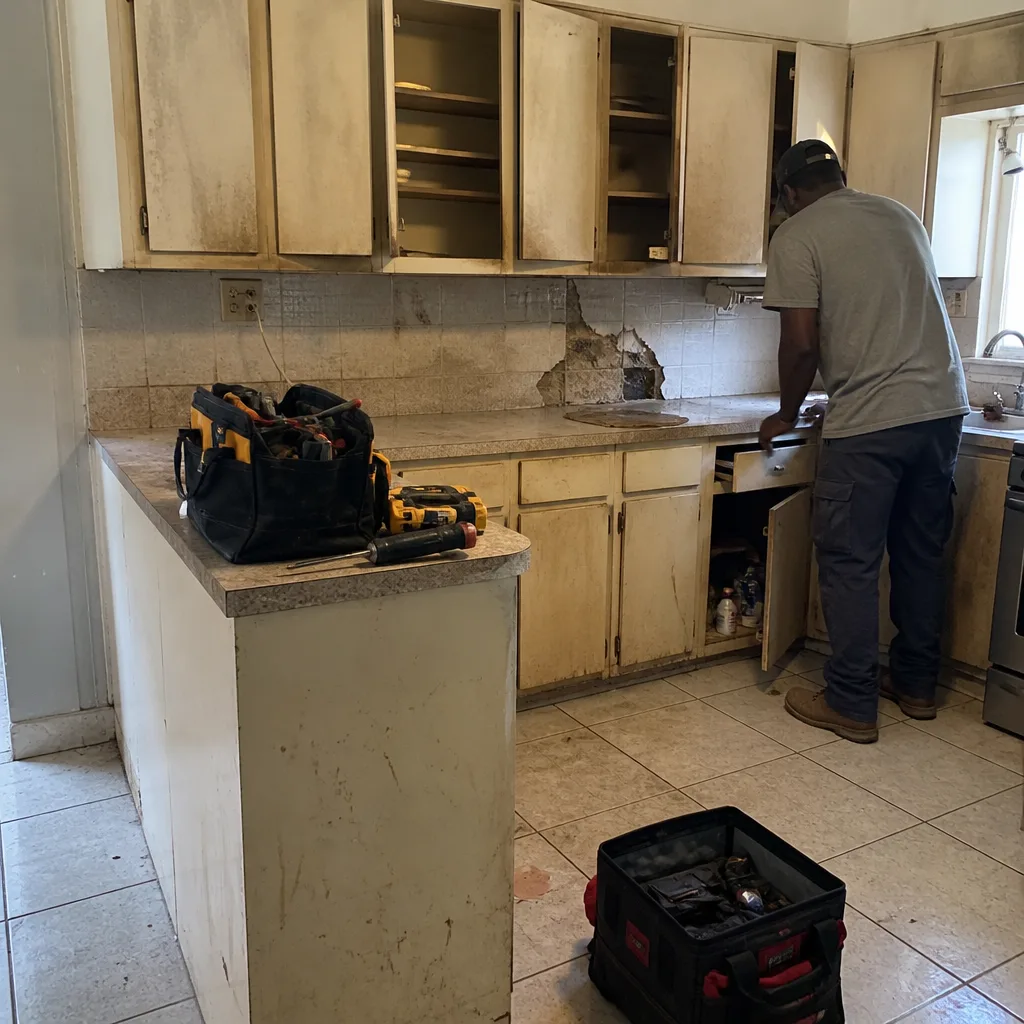 Before
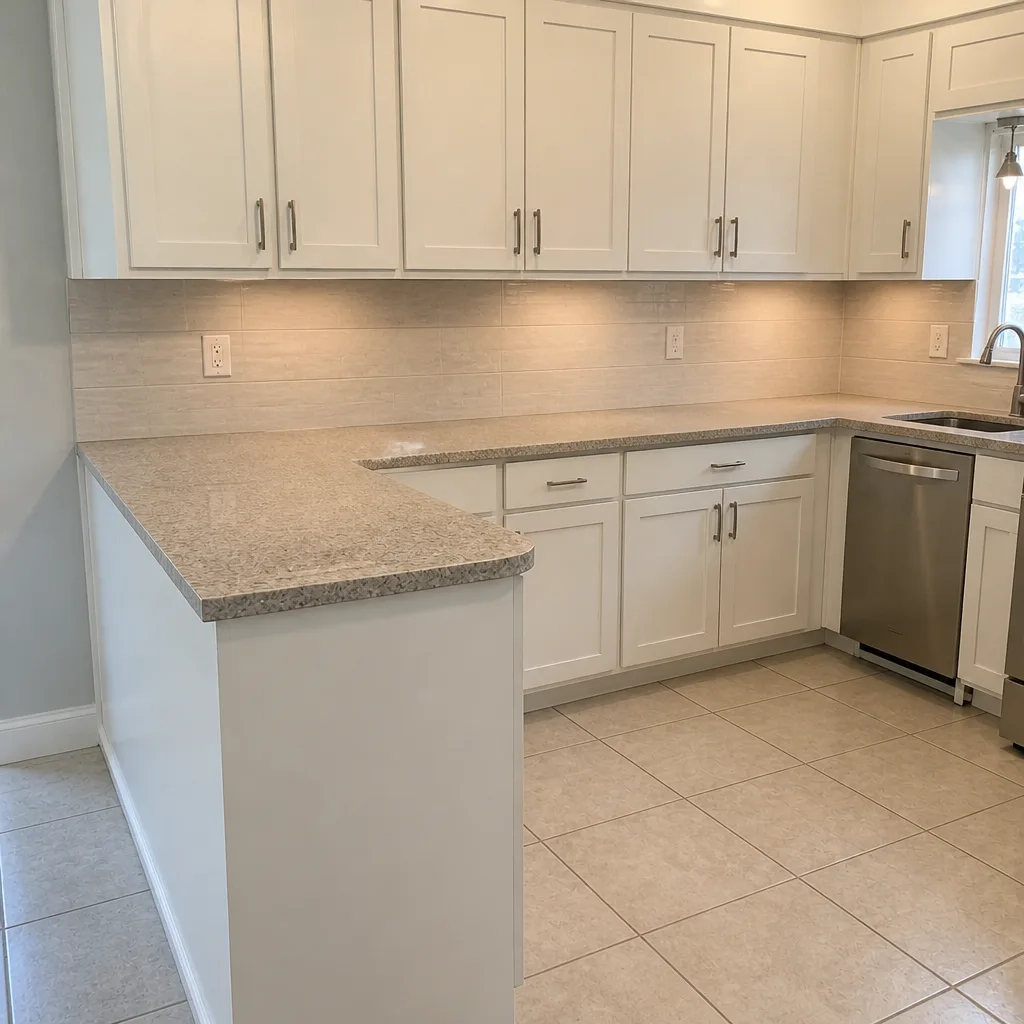 After
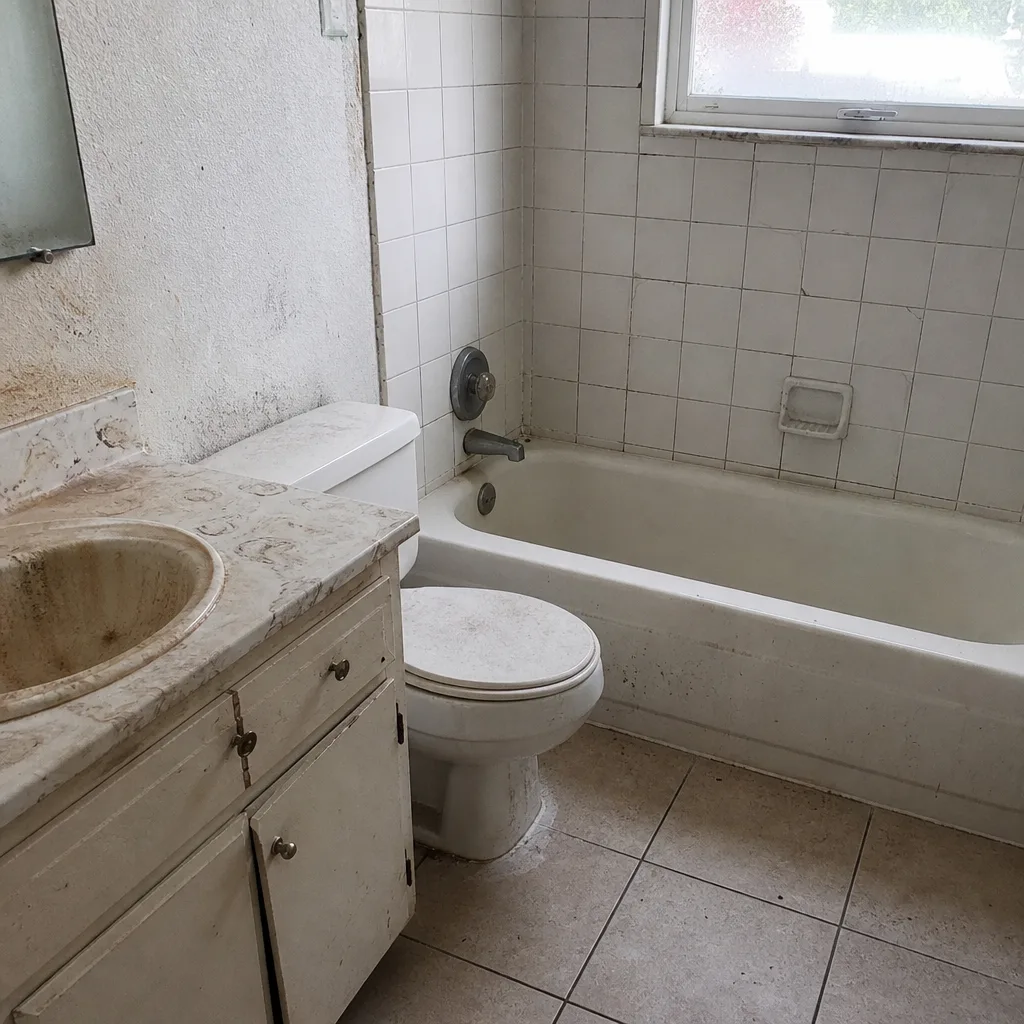 Before
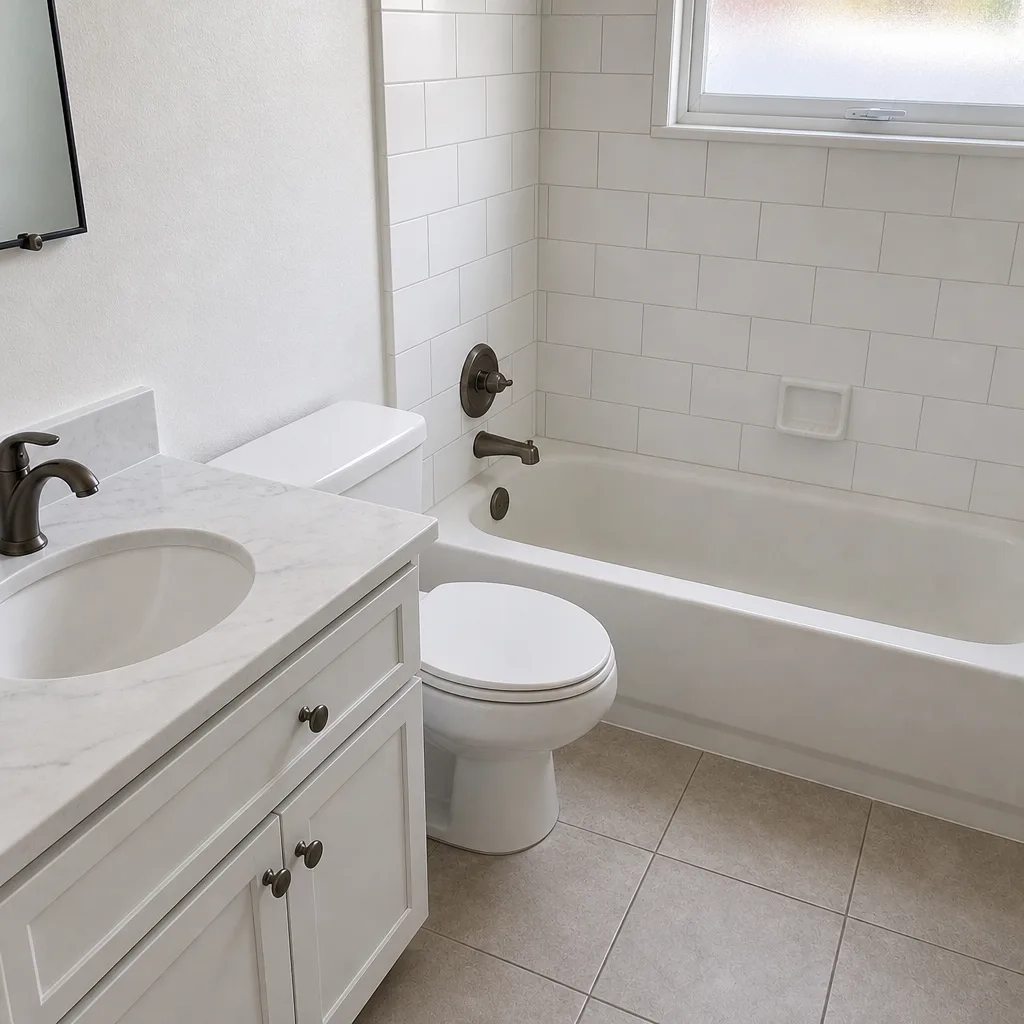 After
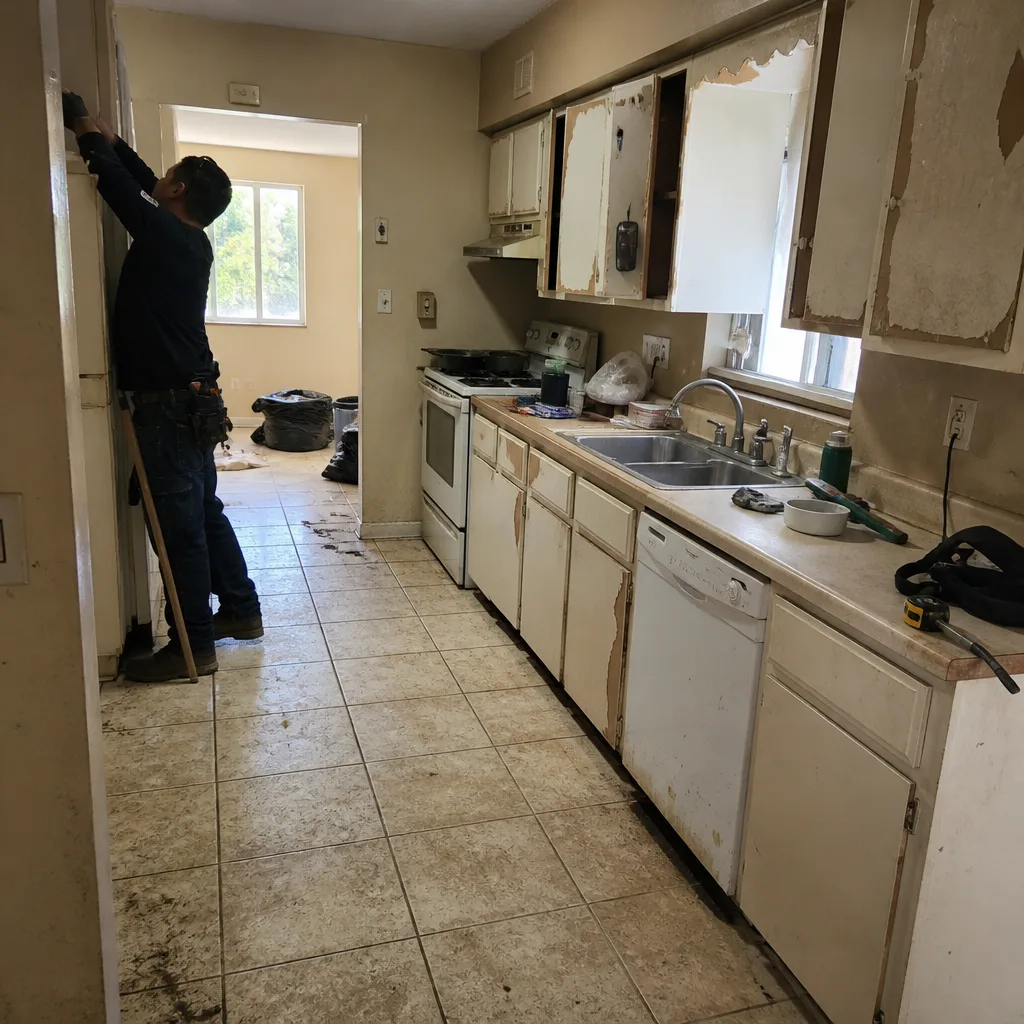 Before
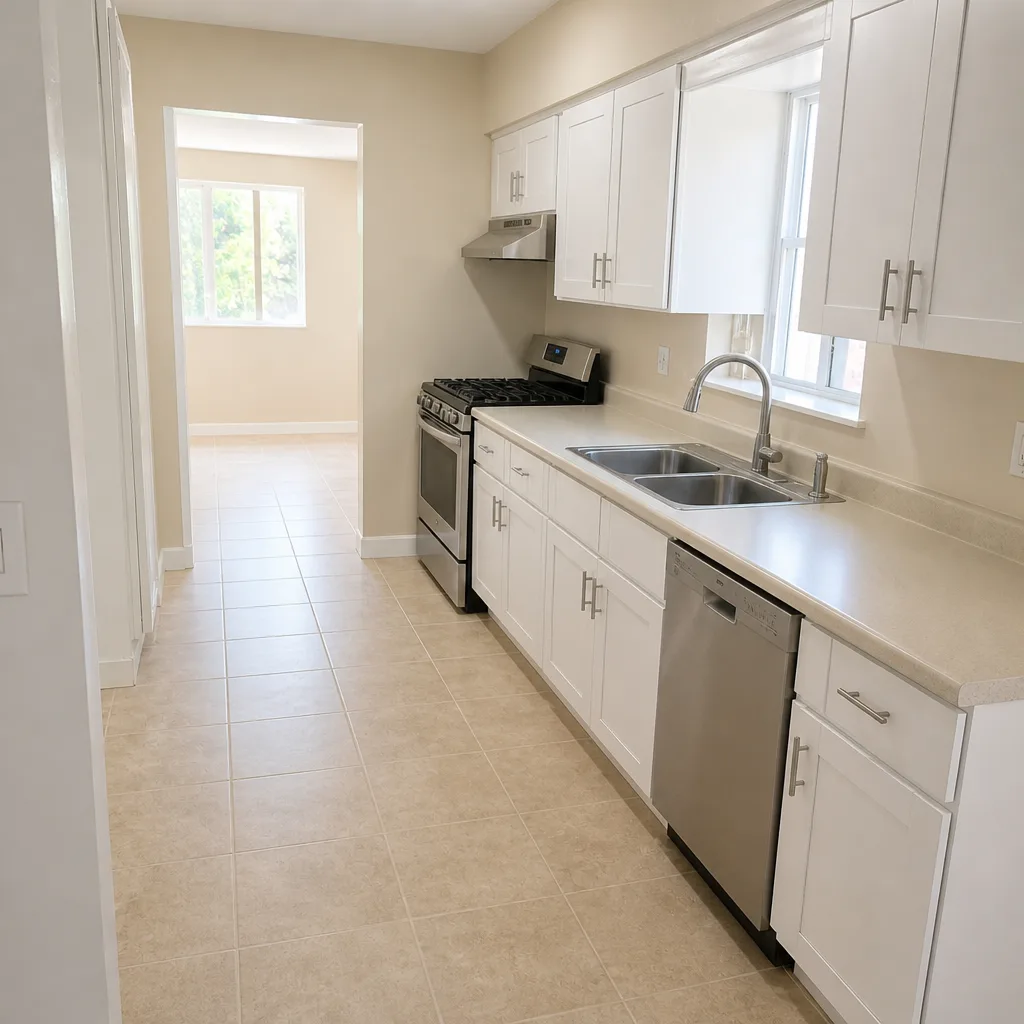 After
When to Call a Professional
Call a professional the moment your project includes full excavation, base compaction, or a permit. That includes new driveway installation, replacement of an existing driveway where the base will be rebuilt, and any work involving changes to a drainage easement or right-of-way connection. It also includes retaining walls above 4 feet, anything where the base has to be engineered for soft soils or a high water table, and any driveway that has already failed once and needs to be rebuilt correctly. On the flip side, you don’t need a professional for resetting a single paver, refilling joint sand, or applying sealer to a driveway that’s structurally sound. If you’re unsure which category your project falls into, that conversation itself is worth having – Groundwork Construction Co. of Kendale Lakes offers free estimates in Kendale Lakes, written line-item with no surprises. Call (844) 834-8961 to schedule yours.
Frequently Asked Questions
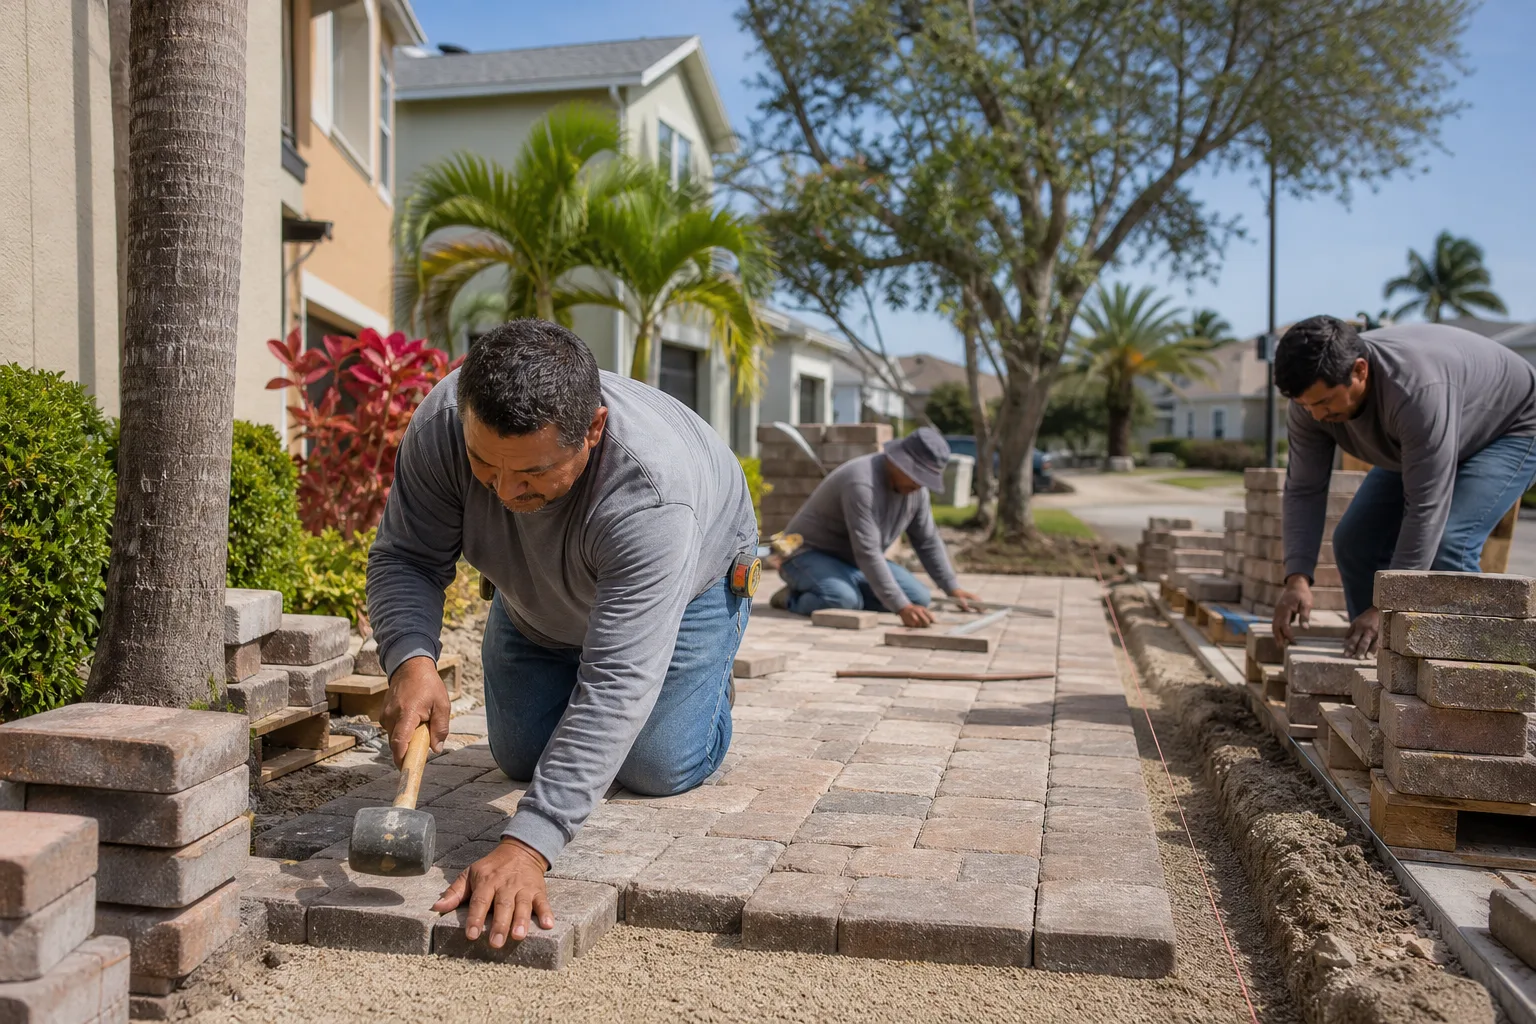
You can install the visible pavers yourself if you’re willing to hire out the excavation, base work, and permitting. The base and permits are not DIY-legal in Miami-Dade County for structural driveway work, and the base is where DIY installations most often fail. If you want to lay the pavers as a hybrid project, work with a licensed contractor on the underlayer and put the scope split in writing.
For a typical 400-square-foot residential driveway in Kendale Lakes, most installed projects land between $6,500 and $10,500 depending on paver grade, excavation depth, and drainage requirements. For larger driveways or combo hardscape jobs, ask about 0% financing for 18 months and $1,000 off projects over $10,000. Call (844) 834-8961 for a line-item quote based on your specific lot – estimates are free.
Yes, in almost all cases. Miami-Dade County requires a permit for driveway work that connects to the public right-of-way, affects impervious surface coverage, or touches a drainage easement. Pulling that permit requires a licensed contractor, which is why the permitted phases of a paver driveway are not legally DIY. Your Kendale Lakes HOA may also require architectural review of the paver style and color before work starts.
Paver driveways sink because the base underneath them wasn’t compacted correctly. The most common causes are under-excavated subgrade, gravel placed in one thick lift instead of compacted in 2- to 3-inch layers, moisture content that was wrong for compaction, or a base that ignored water table depth and drainage in a wet climate like Kendale Lakes. The pavers themselves almost never fail.
Not if the scope is right and the contract is written properly. We quote fixed price, with line-item detail, and any change order requires your written approval before work proceeds. If the base excavation reveals something the survey didn’t show, we stop, explain, and get your sign-off before touching the price. That’s how it should work with any contractor.
A typical 400-square-foot driveway takes 5 to 8 working days from excavation to final sealer, depending on weather and permit inspection timing. If the base has to be inspected by the county, expect one extra day for the inspection window. Larger driveways and combo hardscape jobs run longer, and a realistic timeline is something we put in writing with every estimate.
The Bottom Line
DIY paver work isn’t a question of whether you’re capable – plenty of homeowners can lay a herringbone pattern with patience and a rented table saw. The question is whether the work you can safely do will stand on a base that was never done right. Pattern design, resetting a single paver, refilling joint sand, and sealing are all reasonable weekend projects even in Kendale Lakes. Excavation, base compaction, and permitting are not, because they’re the layers that determine whether the whole thing lasts two years or twenty. If your project is a full driveway installation or a rebuild, the smart money is on doing it once, with permits pulled, base inspected, and a workmanship warranty behind it.
Our technicians have up to 12 years of experience, and every project we take on is backed by our 730-Day Done Right Promise – if it’s not done right, we make it right. If you’d like a line-item quote on your driveway, paver, or larger hardscape project, call (844) 834-8961 to schedule your free estimate. Calls are answered by a live person, 24/7, and every estimate includes a design consult so you can see exactly what you’re paying for before anyone breaks ground.
Written by the team at Groundwork Construction Co. of Kendale Lakes.